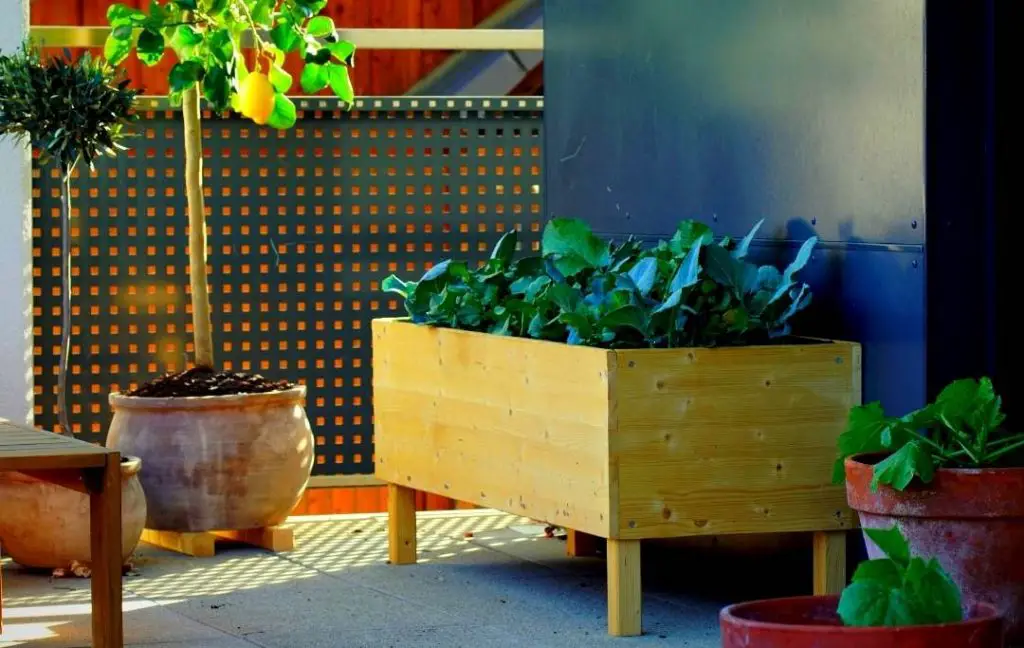
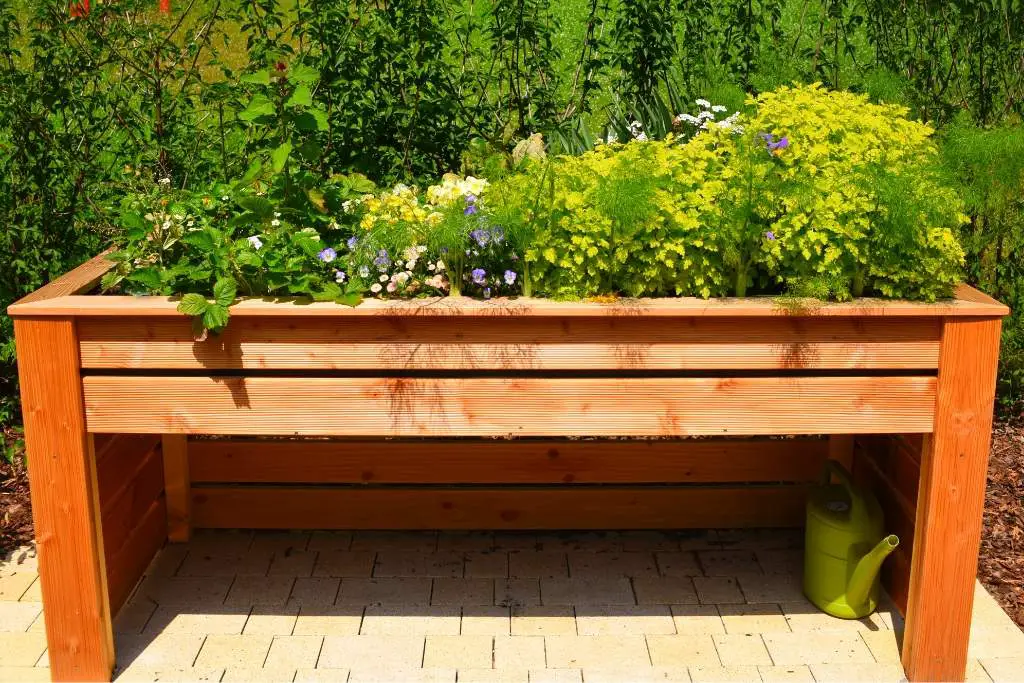
The elevated garden bed is very good for those who have back pain and physical issues. Traditional raised bed gardening is connected with kneeling and bending. Old people who are plant lovers but can’t bend their back too much can solve this problem by using elevated beds. Another problem is that if the fruit of your hard work is being eaten by rabbits, deers, and other critters, then get rid of them by an elevated raised.
It will solve not only your problem but also make weeding easier. This type of raised bed is great for planting flowers and herbs and provides more space and many planting options. There are different types of elevated raised beds available at the market or you can also buy them online.
But making elevated raised beds at home is a very economical choice. If you have time and skill then start an initiative and try to make your own simple elevated raised bed.
BEST TYPE OF WOOD YOU CAN USE FOR MAKING RAISED BED
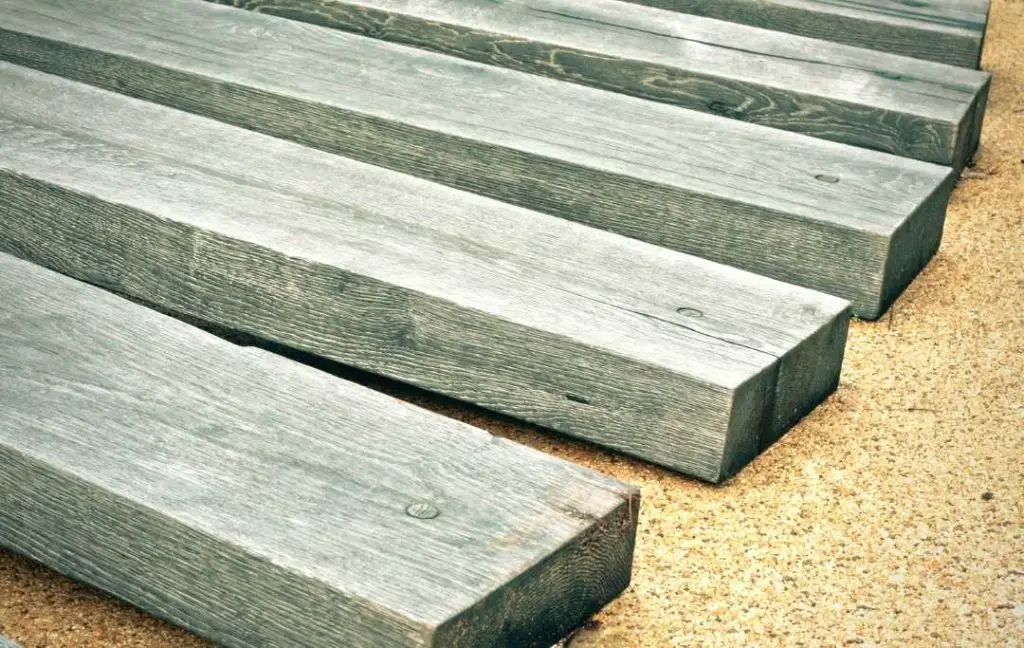
Most people prefer to use wood which is cheaper, durable, and light. The best option is CEDARWOOD for building a raised bed. Although it is expensive, it’s qualities of naturally weather-resistant and durability makes it exceptional.
You can use it for a long time as compared to cheaper wood like pine. You can easily handle it as it is very light weighted. The other options which you can use are BLACK LOCUST and REDWOOD. If you can’t afford these types of woods you can also use FIR or SPRUCE but keep it in your mind that they are not durable. Another cheap option is recycled boards repurpose from other projects.
All the options described above can last about 10 to 20 years but it depends upon your climate. But these options biodegrade eventually if you want to slow this process you can also treat your boards but make sure that use non-toxic wood treatment otherwise from it harmful chemicals enter into your soil.
It is important to know that avoid using pressure-treated wood for making any type of raised beds as it is not good for your plants. Your plant’s health is very important as a healthy plant can give a higher yield.
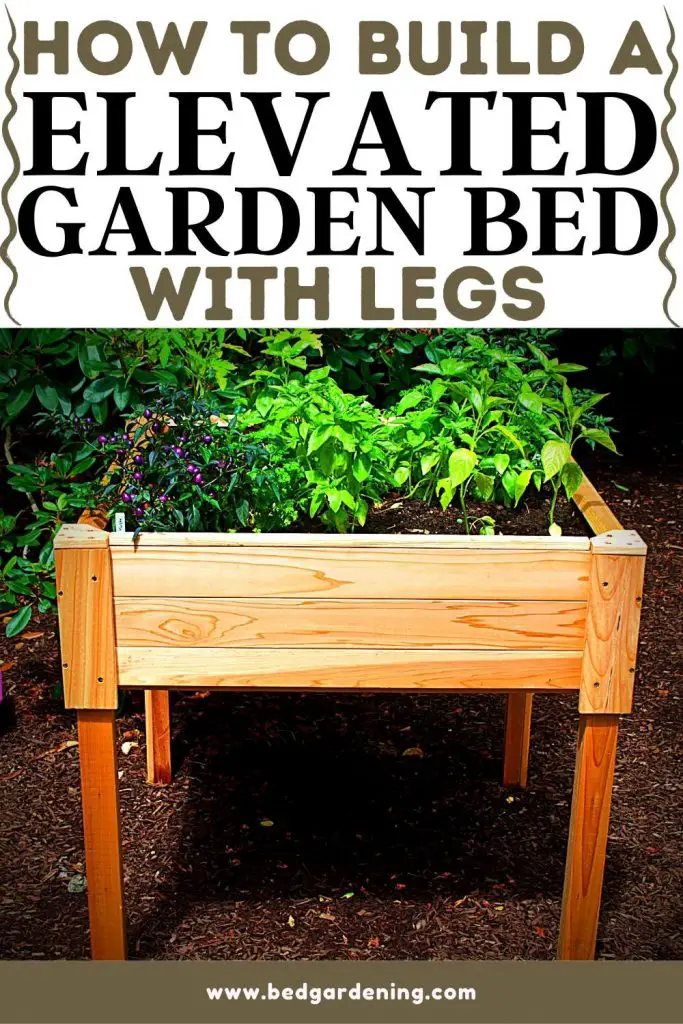
HOW TO MAKE GARDEN BED WITH LEG?
Now we are going to discuss in detail how to make an elevated raised garden bed at home. By following every step you can make it very effortlessly without facing any trouble. This article includes all the instructions which demonstrate how you can make a simple elevated raised bed with legs by using basic materials.
MATERIALS YOU NEED FOR MAKING ELEVATED RAISED BED
- Four 1×6 @ 8 feet long cedar boards
- Three 1×2 @ 8 feet long cedar boards
- Two 1×2 @ 8 feet long cedar boards
- 1 ¼” Self-Tapping Deck Screws (The screws which are made from metal easily leach a dark stain onto the wood in the presence of moisture if you want to avoid this problem. The best option is coated deck screws or stainless steel.)
- 1 ¼” Brad nails
- Waterproof Water Glue
- Drill
- Clamps
- Tape Measure
- Brad Nailer
- Weed Barrier
- Miller Saw
When your raised bed is ready, it will be 3 × 4 inches tall × 18 inches wide × 39 inches long and the depth of the bed is 8 ¼ inches.
PROCEDURE
The making of an elevated raised bed is going to explain step by step.
1- MAKE INITIAL LUMBER CUTS
You can easily cut lumber with the help of a miter saw. You need from 1×6 cedarwood
- Four pieces @ 36 inches
- Four pieces @ 16 ½ inches
You need the following cuts from the 1 × 4 cedarwood
- 8 pieces @ 30 inches
And from 1 × 2 cedarwood
- Two pieces @ 34 ¼ inches
2- FOR CREATING LEDGE, ATTACH 1 × 2 BOARDS TO THE BOTTOM OF 1 × 6 BOARDS
The bottom of 36 inches can easily attach with a 34 ½ inches board. You can use 1 ¼ inch self-tapping deck screws for this purpose. Six screws are enough for maximum support. You need to repeat this process to another 36 inches 1×6 boards.
3- THE PROCESS OF ASSEMBLING OF PLANTER BOX
Now take the boards of 16 ½ 1 x 6 inches and mark ⅜ inches from both edges. Although, it is an important quality of self-tapping screws that they don’t need pre-drilling. But we need a more precise and straight hole that’s why we pre-drill two pilot holes on each of those marks of the boards.
Now take one of the 16 ½” 1 x 6 boards and attach one end perpendicularly to the 36 inches with the 1 X 2 ledge with the help of 1 ¼ inch deck screws through the pre-drilled pilot holes which you make earlier in the boards.
Keep it in your mind that cedarwood is very soft that’s why you should drill the screw very gently and don’t let the wood split when drilling.
Now again repeat the same steps mentioned above on the opposite side using another 36 inches 1 x 6 boards with the ledge. It is important to take care of this thing that the 1 X 2 ledges are both on the bottom sides of the planter box.
Now the next step comes which is the repetition of the above-mentioned steps to create another planter box but for this box, you don’t need 1 X 2 ledges. Now our simple raised planter bed box frame is ready.
Now the other important step comes which is joining these boxes with the help of tools like a drill and the nailer.
4- CREATING WOODEN LEGS FOR RAISED BED
For this purpose, you should attach one of the 30 inches 1 X 4 pieces to another 30 inches 1 X 4 boards for this attachment you need a generous amount of wood glow and 1 1/4 inches brad nails Along the long edge in this way you will be able to create one of the legs.
Hope you understand well the above process of creating one leg. By repeating the same steps you will create the remaining three legs to your raised bed.
5- ATTACH WOODEN LEGS TO THIS UNIQUE ELEVATED RAISED BED
This step is very important because we are going to finish our unique elevated raised bed by attaching wooden legs to it. Now you need 2-3 deck screws for attaching each leg to the top planter box, the one without the ledges. If you want that your screw holes would not show from the outside then attach the screws from the inside corner of the planter box.
This will show good finishing of your work. After this work, stack the bottom planter box under the top planter box. With the help of the screws attached the wood legs to them. the ledge side of the planter box should be on the bottom. Now repeat the same process with the remaining two legs, on the opposite side of the planter box.
6- ADD BOTTOM WOOD SLATS AND TOP TRIM TO DIY RAISED PLANTER BOX ON LEGS
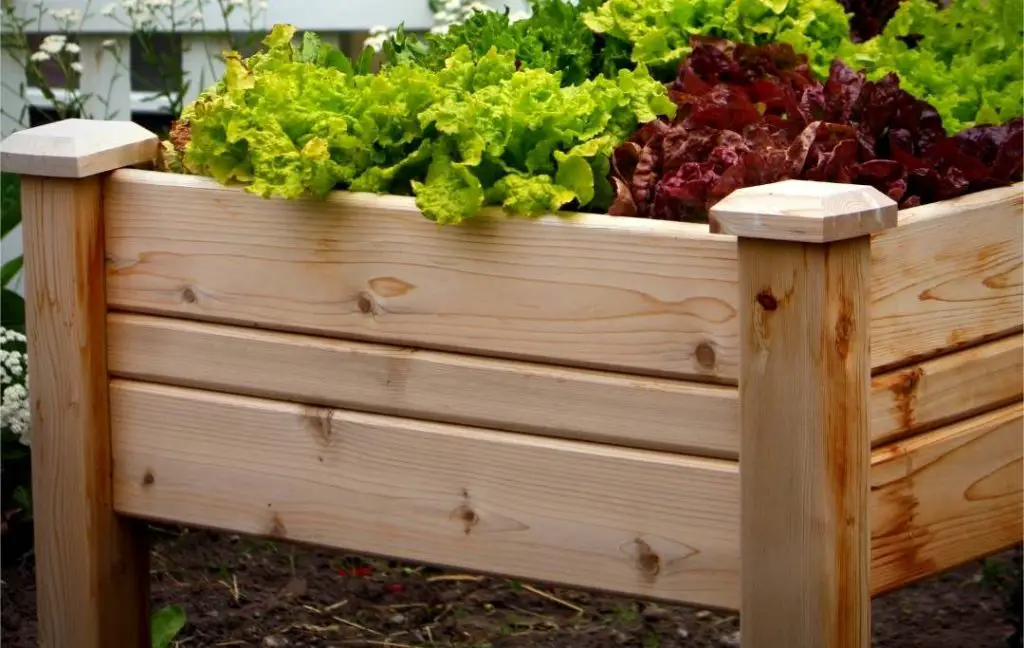
After measuring your planter box. Start cutting 6 pieces of 1 x 6 to the size less ¼ inch. After cutting these six pieces of board slats, lay them on the top of the 1×2 ledge. Now you should create the bottom of the raised planter bed by spacing about ¾ inch.
Brad’s nails are good for securing each board in place; one or two brad nails are enough on each side into the 1 X 2 Ledge. Now we are moving forward to finishing our raised bed. Now start cutting the remaining 1 X 2 boards to trim out the top edges. Brad’s nails are good for attaching the trim.
7- PREPARE ELEVATED RAISED BED WITH LEGS FOR PLANTING
Before filling the soil, you should lay some weed barrier at the bottom of your raised bed to prevent the dirt coming out from the slats. Now your bed is ready for filling. Try to use the best soil possible for the filling of your raised bed. This is our unique benefit of a raised bed that you can maintain your nutrients according to the needs of your plant.
The fertility of the soil is in your hand as compared to in-ground beds. The high-quality potting mix is necessary for the better development of your plants. Add fertilizer frequently to the soil so the outcome of your hard work will show in the form of good production of your vegetable or fruits or herbs or anything else which you are growing in your raised bed.
After filling the raised bed with the soil now the next step comes which is the selection of the plants there are a lot of rice choices for you like lavender, red pepper, mint, rosemary, parsley, marigold, and many other flowers and herbs.
HELPFUL TIPS
- During cutting and handling wood please wear gloves and a dust mask along with eye protection.
- As you know that raised beds have fantastic drainage quality which is very beneficial for your plant’s health, but you should keep in mind that due to this quality the soil of your raised bed will dry out very quickly. That’s why you should provide a long drink of water to your plants in the early evening. Try to check your plants again and again on hot summer afternoons, if your elevated raised bed is standing outside. For water irrigation, you can attach a sprinkler and connect to the hose for creating a drip irrigation system. But run the water very slow because it will make bubbles rather than sprinkling.
- For the strength of your raised bed use full dimension lumber which is also known as nominal number the thickness of this lumber is 2 inches.
- Another important tip, add earthworms to the planter boxes. Earth forms help a lot to contribute nitrogen to your soil. It is important to know that worms feed on the plant debris which is available in the form of dead roots, leaves, grasses, and manure.
- Time is very important in planting veggies, after some research, you will come to know that favorite weather of any veggies which you want to grow in your raised bed. If you are a beginner then choose those vegetables which require less maintenance in this way you will succeed to get maximum production effortlessly.
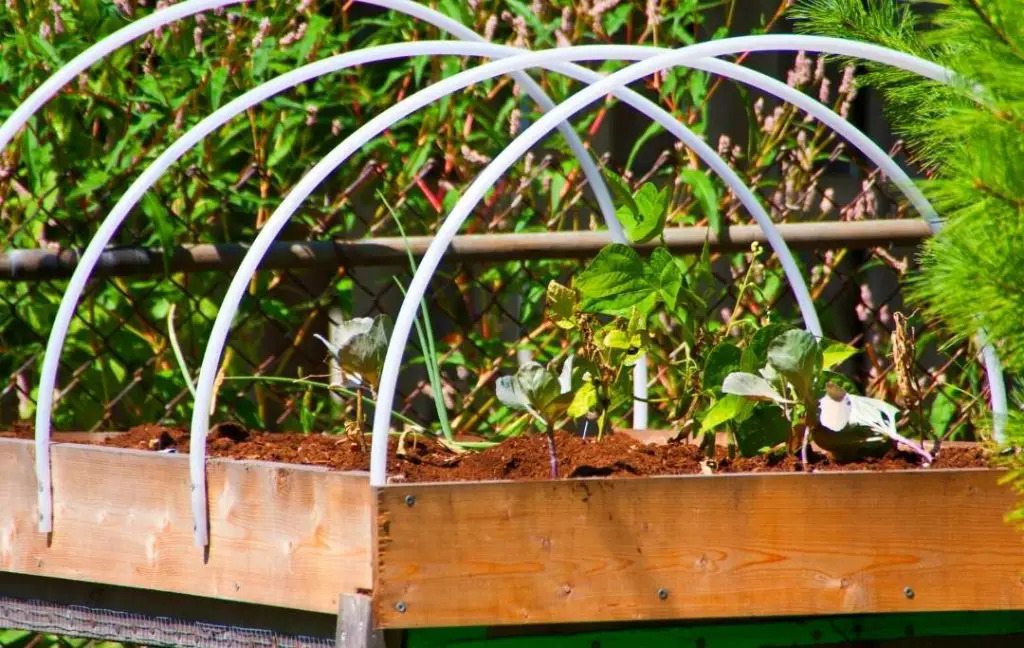
- Try to add plastic domes to help your plants for a jump start.
- Try to make drill pilot holes because in this way you will prevent your wood from splitting while you are nailing or screwing boards.