Some organic gardeners use the non-cultivation method which is called no-dig gardening. No one knows when no-dig gardening started, maybe it is related to nineteenth-century farming techniques.
According to this technique, microbes constitute a community in the soil which is very necessary for preventing the plants from many problematic diseases and healthy cycling of nutrients.
In this procedure, plants transfer their carbon energy to the soil and microbes use this energy for turning available organic substances into minerals. These minerals are very important in the growth of plants.
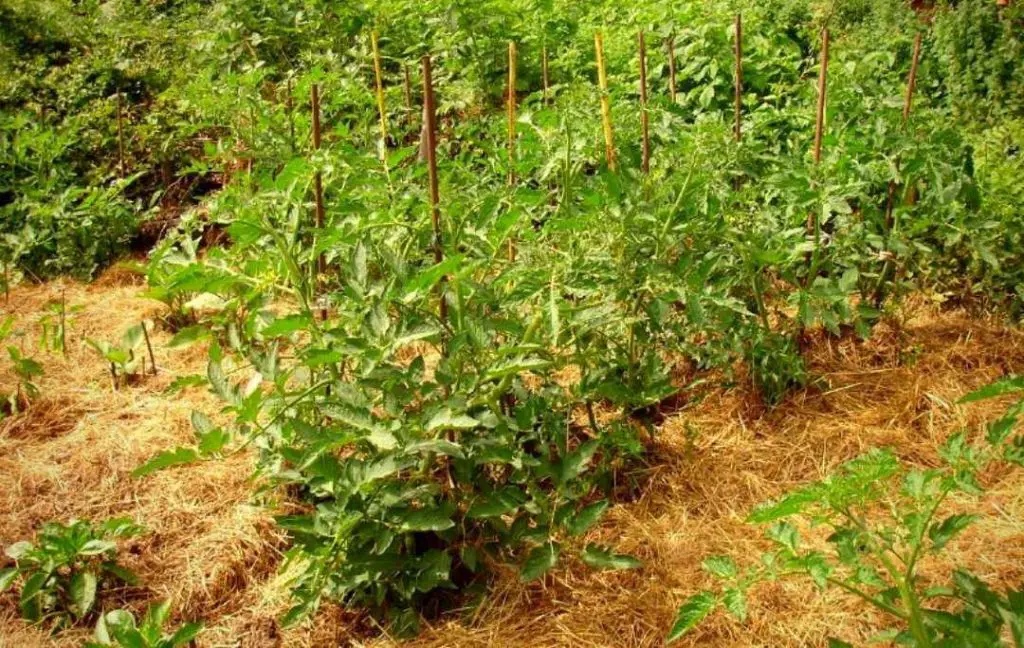
In this way, you will get rich soil without digging. If you want to clear the weed-infested area then you should use this method. Weeds are unwanted plants that steal the nutrients from the soil and your plants have to compete with them.
In the no-dig method, the life of soil will not be disturbed. Microorganisms such as fungi and worms are very helpful in feeding the roots of the plants. For this purpose, you need a large amount of organic matter such as homemade compost, well-rotted manure, and leaf mold.
ADVANTAGES AND DISADVANTAGES NO-DIG GARDENING
No-dig gardening is an unconventional method of growing vegetables without manually turning over the soil between crops. But this method works just like nature, the dead vegetation combines with the soil and decomposes by earthworms and other organisms.
The function of earthworms in the soil to improve the drainage and structure of the soil. After those other organisms break down the organic matter further.
In the no-dig method, some disturbance of soil is necessary. For example, sowing, planting, and harvesting can’t be done without digging. But it is far different from conventional digging.
In simple words, in conventional digging, your soil will lose soil moisture and organic material which is not good for your plants. Here we are going to discuss the pros and cons of the no-dig method.
PROS
Following are the advantages of the no-dig gardening method.
- The organisms in the soil are very beneficial. If you don’t disturb the soil then they will flourish. As a result, they support improving the structure of the soil.
- In the no-dig gardening method, you can maintain a balance of nutrients in the soil easily. The balance of nutrients is very important during the decomposing of organic matter.
- Most of the plants like to grow in moist soil but it is not easy to retain water in the soil. But no-dig gardening makes it possible that loss of moisture and nutrients can be avoided.
- Due to no-dig gardening, you can get a higher yield in some areas.
- In the summer season when plants are suffocated due to the heat of the sun. A layer of organic mulch maintains a low temperature in the soil.
- There is no need for intense seasonal labor-intensive digging. This will deduct your budget.
CONS
Following are the advantages of the no-dig gardening method.
- The temperature of the soil under a layer of mulch will be reduced. This will slow the development of the plants.
- In this method, the soil will become compacted. Compact soil will not provide air to plants for breathing.
- The pests will harm your plants and will not be exposed to predators due to mulch.
After reading the pros and cons of the no-dig method. You can decide whether you are in favor of digging or no-dig gardening.
HOW TO CREATE A NO-DIG GARDEN IN 10 EASY STEPS
Healthy soil is very important for the life of your plants. The microorganisms which are present in the soil such as worms, beetles, and millipedes are an essential element of flourishing the soil ecosystem for your plants.
They will work best if little disturbance will be done. No gardening mattered depending upon the size and needs of the particular in this matter. You need more compost from the start. Following are simple and easy steps for starting a no-dig garden.
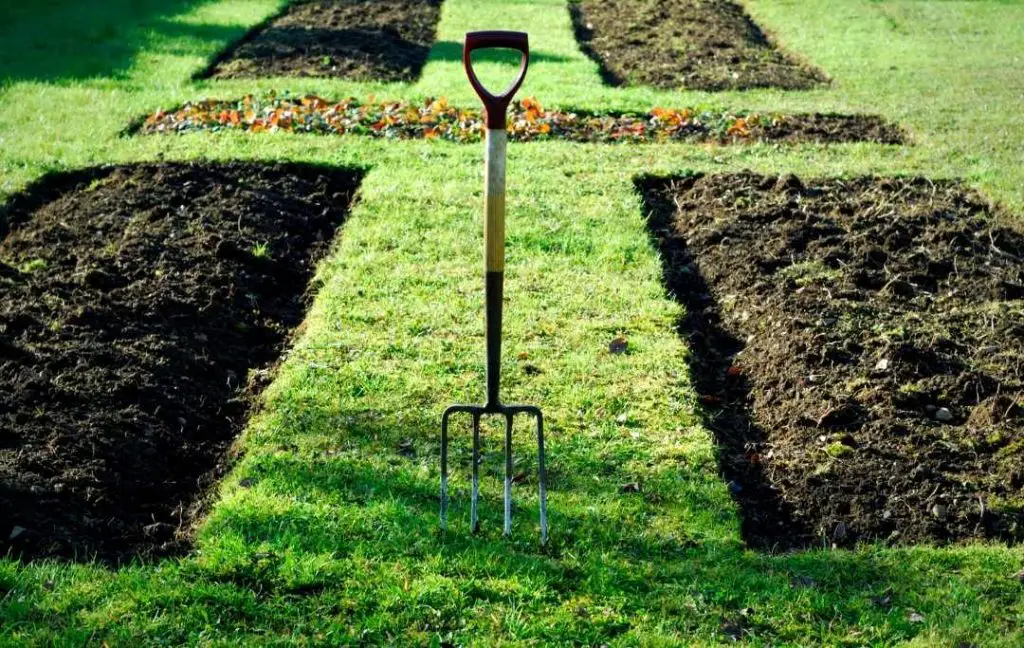
STEP 1: CHOOSE YOUR LOCATION
Location plays a very important role in the healthy development of any plant. You should be more choosy about the location of your growing area. The location you use for no-dig gardening should be the ideal one.
It will receive at least 5 hours of direct sunlight per day. Sunlight is a very important factor in the growth of any plant. Make sure the location should be sunny. The location which you choose can be within a raised bed, over grass, or even on top of concrete.
STEP 2: GATHER YOUR MATERIALS
The second step is gathering all the basic materials for the no-dig gardening method. The main materials which you need for this purpose are as follows.

- Compost: You can make your compost if you don’t want to buy it from the market. Store-bought compost can be expensive but the compost you will make at home is cheaper.
- Animal manure
- Newspaper or cardboard
- Straw bales or lucerne
- Watering can or water hose
The above-mentioned materials are essential but you can also add some optional materials such as kitchen scraps, worm casting, small dry sticks or branches, and dry leaves. These materials also help in your work.
STEP 3: PREPARE THE GROUND
If you want to do no-dig gardening over soil or an existing garden bed or in-ground bed, there is no need for additional preparation.
But if you want to create No-dig gardening on concrete or rocky ground, then you should add a 3 to 4 inches layer of sticks, branches, and dry leaves.
This layer will help in the drainage process as you know drainage is very important in the growth of any plant.
If you are creating No-dig Garden over grass. then you should first mow the grass very low then fertilize the soil with bone fertilizer. After applying the fertilizer you should water the grass. This will help to rot the grass down more quickly.
STEP 4: LAY DOWN NEWSPAPER or CARDBOARD
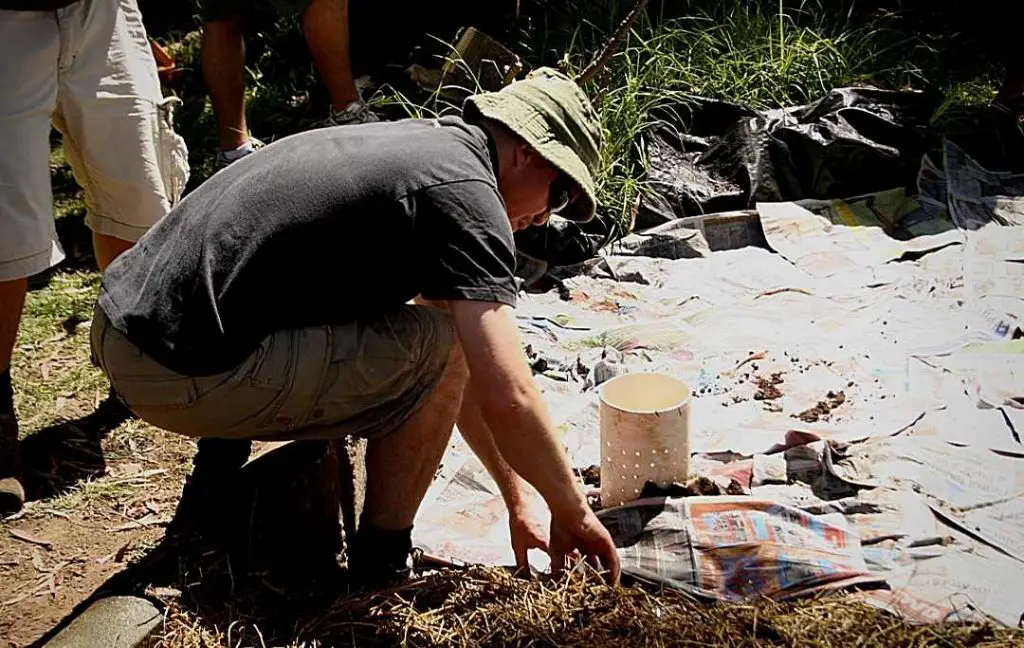
Now, this is the time to spread a layer of newspaper. The thickness of the layer should be ¼ inch and overlapping edges by 6 inches. Now water it down.
Remember, you should not use glossy printed paper or office paper. The reason is that they contain toxic inks which are not good for your plants. If you grow edible plants then toxic elements will add to your fruits and vegetables. This will result in health issues.
Cardboard instead of the newspaper but before using cardboard you have to soak it into a large tub of water. The problem with cardboard is that its glue has borax so you should avoid it and use newspaper.

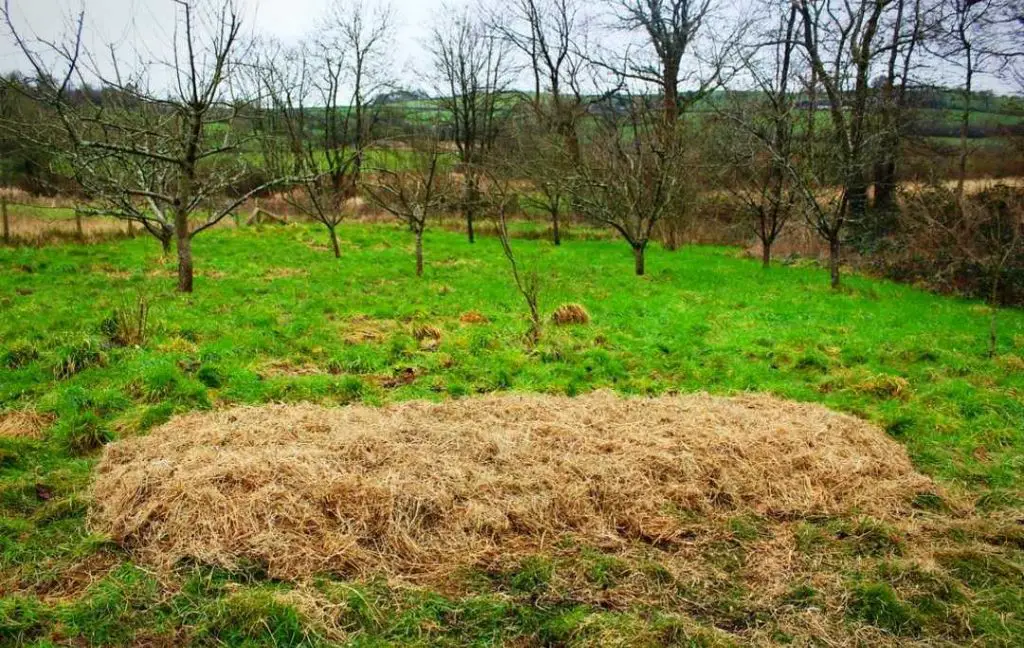
STEP 5: LAY DOWN LUCERNE
The next step is spreading a thick layer of lucerne or alfalfa hay. The thickness of the layer should be 4 inches and after adding this layer, water the selected location well.
If you don’t have alfalfa then you can use hay, straw, and sugar cane mulch. Due to the higher quantity of Nitrogen in alfalfa, we preferred it. This organic material will break down more quickly in the soil.
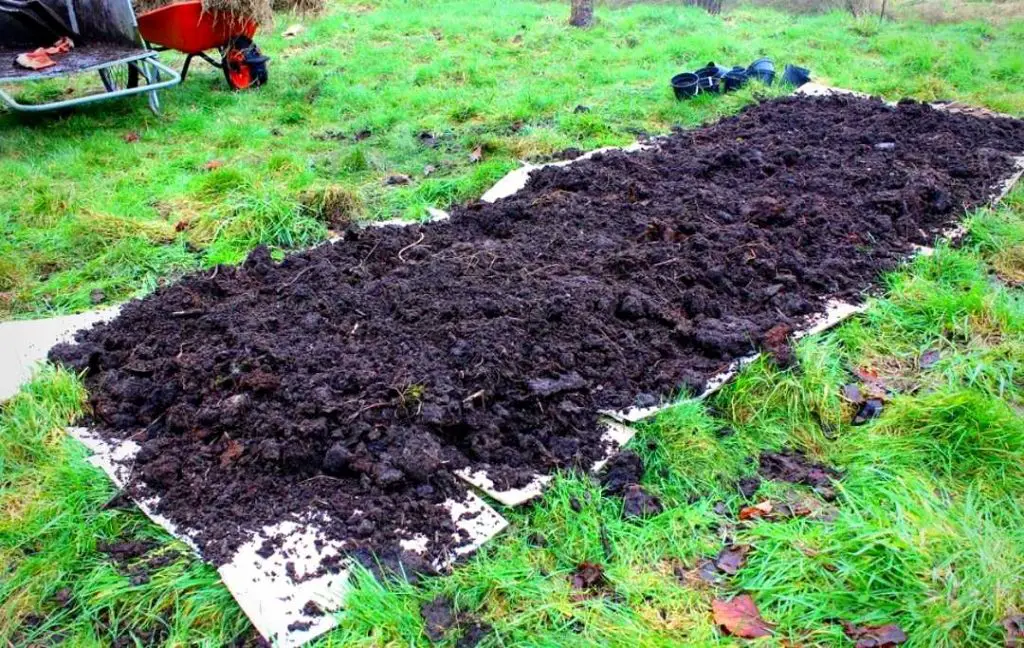
STEP 6: LAY DOWN MANURE/COMPOST
After adding alfalfa you can spread a thin layer of manure or compost. The thickness of the layer of compost and manure should be 2 inches and after this addition, you should water this layer well.
You can also add a thin layer of kitchen scraps or warm costings, but as mentioned above, it is optional. You can skip this step.
STEP 7: LAY DOWN STRAW
The next step is adding another layer of straw. The thickness of the layer should be 3 to 4 inches. After adding the layer of straw, water this layer well.
STEP 8: LAY DOWN MANURE OR COMPOST
Again repeat step 6 and spread a layer of manure or compost. You can skip the step of adding kitchen scraps.
STEP 9: LAY DOWN STRAW
Now repeat step 7 and spread a layer of straw and water that layer well. The thickness of the layer should be 3 to 4 inches.
STEP 10: PLANT IT UP
This is the point where the fun begins. Now select the plants that you want to grow in the selected area of no-dig gardening. Make a hole in the top layer of straw with the help of your hands.
The size of the hole should be according to the size of the root ball of the plants. It should be fixed into the hole. Now fill this hole with compost. Your hole is ready for planting seeds, seedling, or small plants.
After planting seedlings or sowing the seeds, water them well. Now we will move forward and continue to provide regular water to your plants.
If you want to develop and thrive your plant’s growth, you can add seaweed extract to your watering routine.
Recent Posts
Growing bell peppers from seeds is possible; however, because they thrive in warm environments, it is better to begin the process indoors approximately eight to ten weeks before the last frost. The...
Thank you for visiting our guide to growing tomatoes in plastic bottles that have been recycled. Within the context of this forward-thinking and environmentally conscious method of gardening, we will...