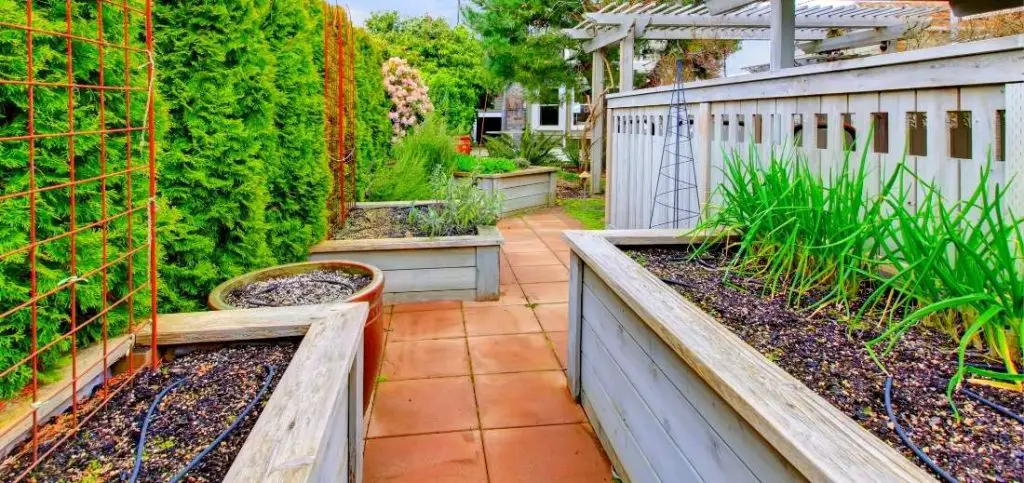
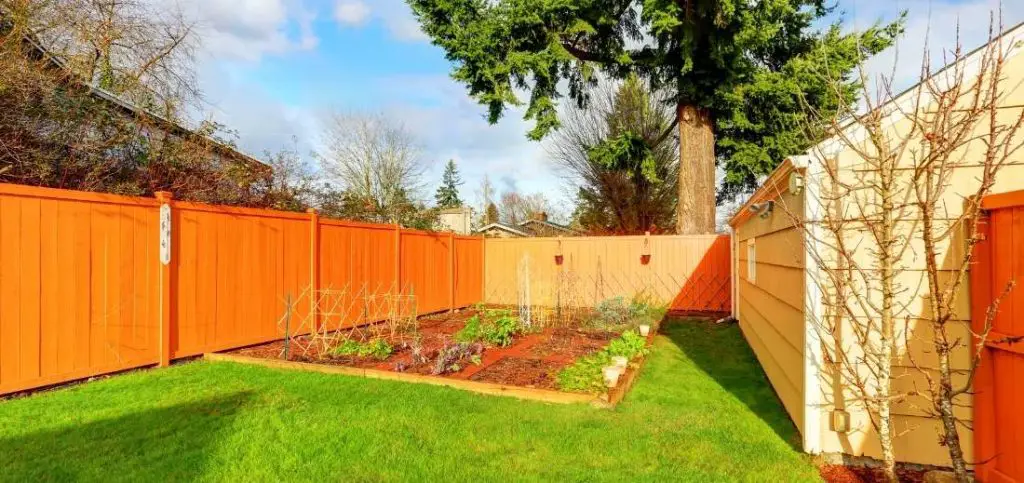
If you are designing your garden you can adopt different ideas to make your garden more attractive. Raised beds are a good decision if you have limited space at your home.
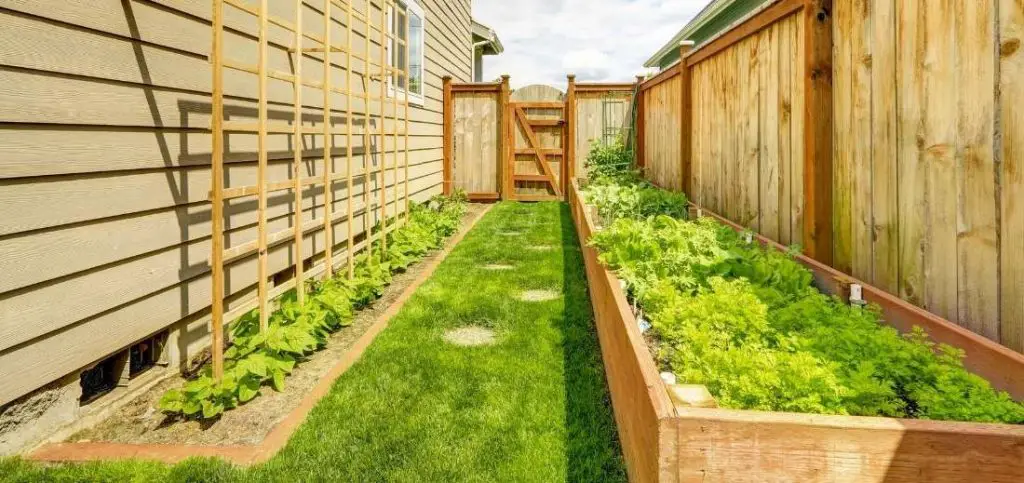
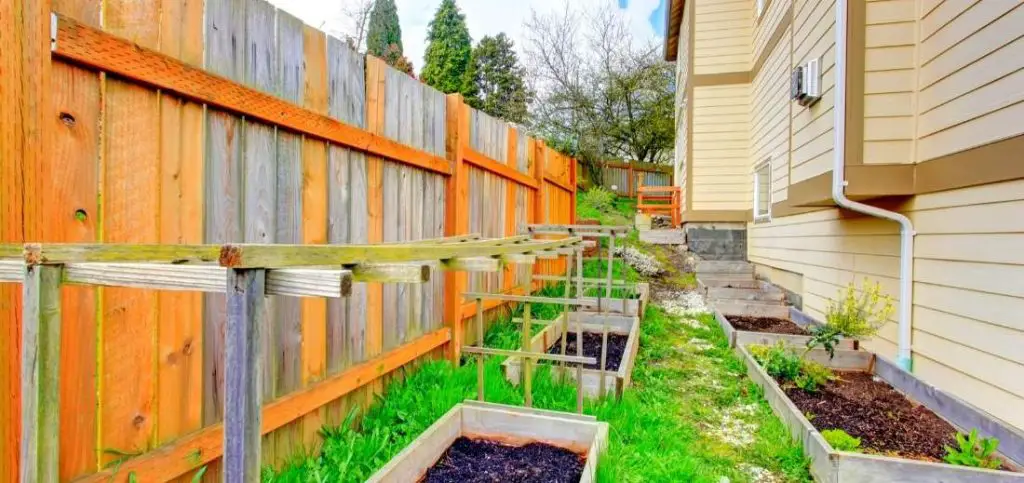
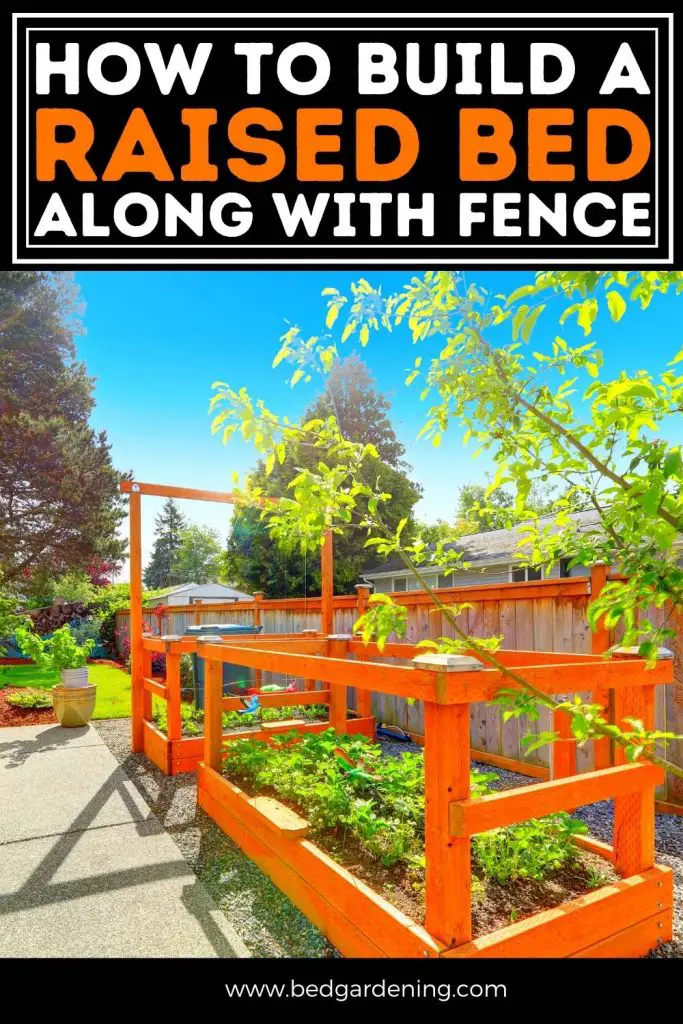
In your outdoor growing area, you can build a raised bed along a fence. A border area is created by this way between the yard and fence. There are four sides of raised beds. Pressure-treated fence planks can easily rot from exposure to moist garden soil. There are many advantages to raised garden beds:
- First of all, you get aesthetic satisfaction as you can design your beds according to your choice and wish.
- You can maintain nutrients of your soil. The fertility of soil is in your hands.
- If you have any physical issues then the raised beds are a good choice. In this way, you can avoid bending and kneeling, which is the main part of gardening.
- If you are living in a rented house then you can take them with yourself anywhere, in the case of shifting.
- If you have limited space in your garden by building raised beds, you can enhance the beauty of your growing place.
The building of Raised Bed along with Fence
Materials You Needed
- Measuring tape
- 2 × 6-inch redwood or cedar lumber
- 4 × 4-inch redwood or cedar number
- 3½- inch wood screws
- Power drill
- Circular saw
- Bow rake
- Compost
Building Procedure
After making all arrangements of material, you need for this purpose. Now we can start building the raised bed along with the fence.
Step 1
The length of the bed is usually 8 feet long. But the best length you can determine by measuring the distance from the outside edges of two posts on the fence. After taking your measurement you can build the fence long or short.
It is important when you lined up evenly with the existing fence posts the length of the bed suits well and looks polished. Be careful when measuring because it will affect the look of your garden.
Step 2
Now you are needed, four pieces of 4 × 4-inch lumber which has the 16-inch length for the posts. Start cutting the pieces. But take care of that you must use rot-resistant lumber such as Redwood or Cedar. Because cedar and redwood both are long-lasting and durable. The correct selection of the lumber is crucial otherwise all your hard work will be wasted.
Step 3
Now start cutting 4 pieces of 2 × 6-inch lumber, according to the size of your raised bed. The length may be about 8 feet if you want to line up the bed with the existing field posts. For the desired depth you need to cut another four pieces of 2 × 6-inch lumber.
The length of these pieces should be about 2 to 4 feet long. Your plants and crops grow easily in this death without compacting the garden soil. 6 inches depth is enough for growing many plants, especially flowers.
The eye view of your garden will be changed after building this raised bed and planting the beautiful flowers in it. It will soothe the eyes of your visitors and they can’t live without appreciating you.
Step 4
Using a power drill you can join two boards of 4 × 4-inch posts to each end of one of the long 2× 6-inch boards. In the same way, screw the other two 4× 4 posts to another of the long 2× 6 inch boards.
You can’t do this work alone, you need a partner for this purpose. Remember one thing, work on a flat surface and stand the posts upright so the end of the posts can be lined up evenly.
Read More: Best Annuals Flowers For Raised Beds
Step 5
Complete the rectangle of the raised bed by connecting two pieces with one short 2 × 6-inch board at each end. Almost your raised bed is completed, a little hard work is left.
Step 6
Now screw the remaining long and short 2 × 6-inch lumber pieces to the posts positioned directly on the top of the first course of 2 by 6-inch boards. Now start digging four 5 × 5 inch post holes next to the fence. You will have to dig about 5 inches deep so the posts on the planter can easily be lined up with the holes.
Step 7
Now flip the raised bed frame over and put the bed in place in the post holes. Now it’s time to fill the holes with soil. After filling the soil you can screw the frame to the fences. This will give extra stability to your bed and make it stronger. This stability will increase the age of your raised bed
Read More: How to Fill Your Tall Raised Beds?
Step 8
Now level the ground inside the raised bed. If you are planning to grow grass in this area, remove the sod layer. If you want to prevent your plants from pests you can use hardware cloth at the bottom of the planter. Use compost to increase the fertility of your soil, so your plant will be flourished in your raised bed. Choose flowers for planting according to your climate.
Read More: What To Or What Not To Compost?
Recent Posts
Growing bell peppers from seeds is possible; however, because they thrive in warm environments, it is better to begin the process indoors approximately eight to ten weeks before the last frost. The...
Thank you for visiting our guide to growing tomatoes in plastic bottles that have been recycled. Within the context of this forward-thinking and environmentally conscious method of gardening, we will...