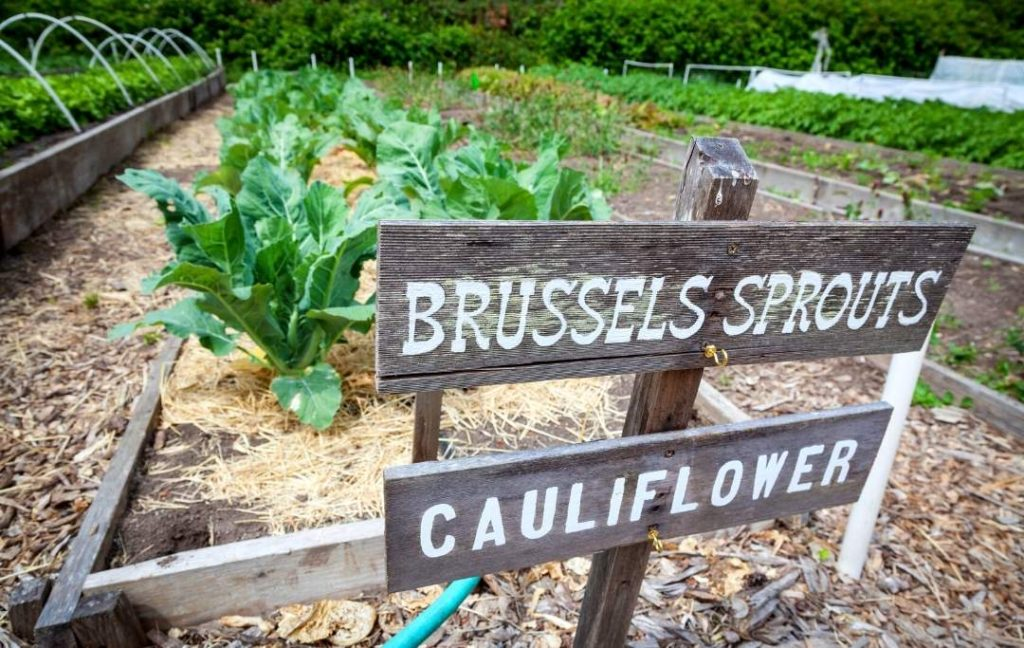
It is one of those vegetables which are commonly available in supermarkets but it is very rare to be seen in home gardens. It is a very delicious vegetable with high nutrient content and belongs to the cabbage family.
It’s not easy to grow it in a home garden as it has a long-lasting germination period. It takes a long to produce a harvest, usually 80-100 days but this may vary from variety to variety.
It is a winter season crop so plant it in early the spring to get yield on the proper time. Sprouts may appear before winter but they develop taste after a mild frost.
If you plant them early then take care of the heat by providing them water, and keep them cool. Brussels sprouts are a worthy vegetable crop to grow.
From the past until now this multifaceted plant has been brought up in different ways to point out its different characteristics; flowers, leaves, buds, stems, and roots; to provide us with a variety of foods.
Determination of Planting Time:
To demonstrate the suitable time for plantation, calculate backward from your first fall date using the “maturity days” mentioned on the packet of seed. It means you should start your Brussels seeds at least four months before autumn.
When to Plant?
- In those areas in which winter is too cold or the temperature often remains below freezing point; sow your seeds from mid of the summer to early spring. And in this way, you can get the harvest in late autumn or early spring.
- In areas with high temperatures or those where winter temperature is moderate, start sowing your seeds from mid of the summer to the end. And these plants will produce a harvest in mid to late winter.
Growing Brussels sprouts:
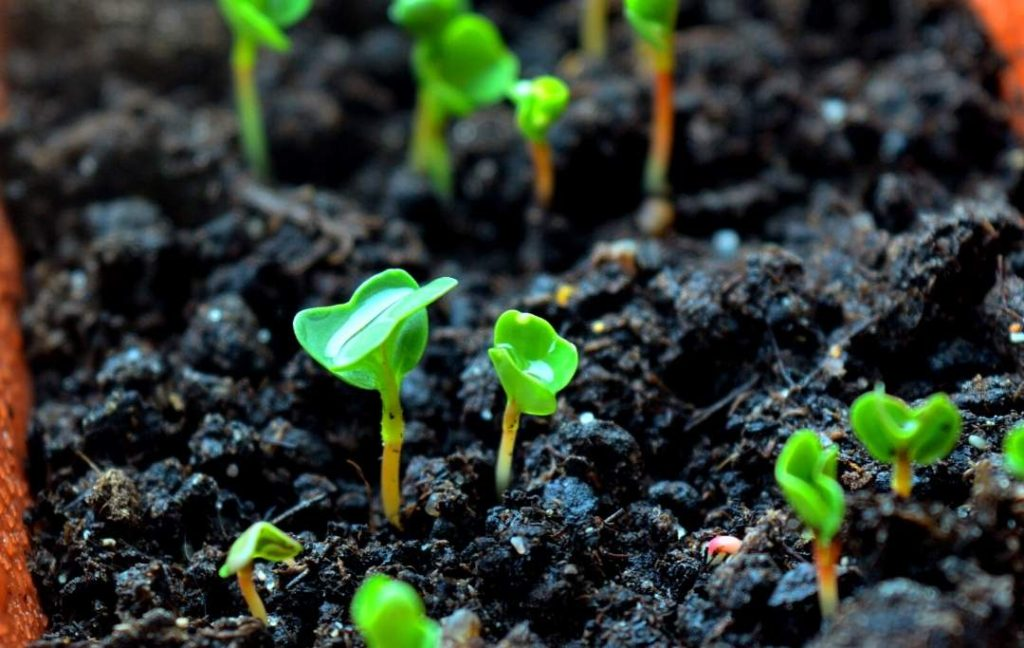
Brussels sprouts can be grown from seedlings by first planting indoors and then transferring to outside upon the arrival of suitable conditions or they can be grown by placing seeds directly into the garden.
But if you start your seeds indoors it will be beneficial because when you transfer them outside after germination they become able to tolerate the hot summer rays as well as insect attacks, but precautions must be needed.
If you are going to plant your seeds directly in your garden it will take a little bit to get more mature than seedlings, so add a few days to your maturing calculation. In other words, if you were starting them indoors, sow the seeds outside about 20 days earlier.
Preparation of Raised Beds:
Raised beds are especially suggested for winter maturing vegetables, especially for spring or autumn growing vegetables. Because in these months temperature highly fluctuate and you can easily manage the temperature in raised beds.
Before placing seeds or planting seedlings into the bed, mix several inches of old manure or compost into the soil. Brussels sprouts usually grow tall and often may reach2-3 feet in length. So keep in mind that they may need a support system, which you can provide them by staking.
Planting:
- If you are going to sow your seeds directly sow them three inches deep, or spread them on soil and sprinkle some soil on them. Do not sow them deeply or cover them with much soil as it increases the sprout emerging time. It’s ok if your seeds overlap with each other allow them to germinate, and thin the seedling as it reaches the size of six inches tall, to allow proper air circulation.
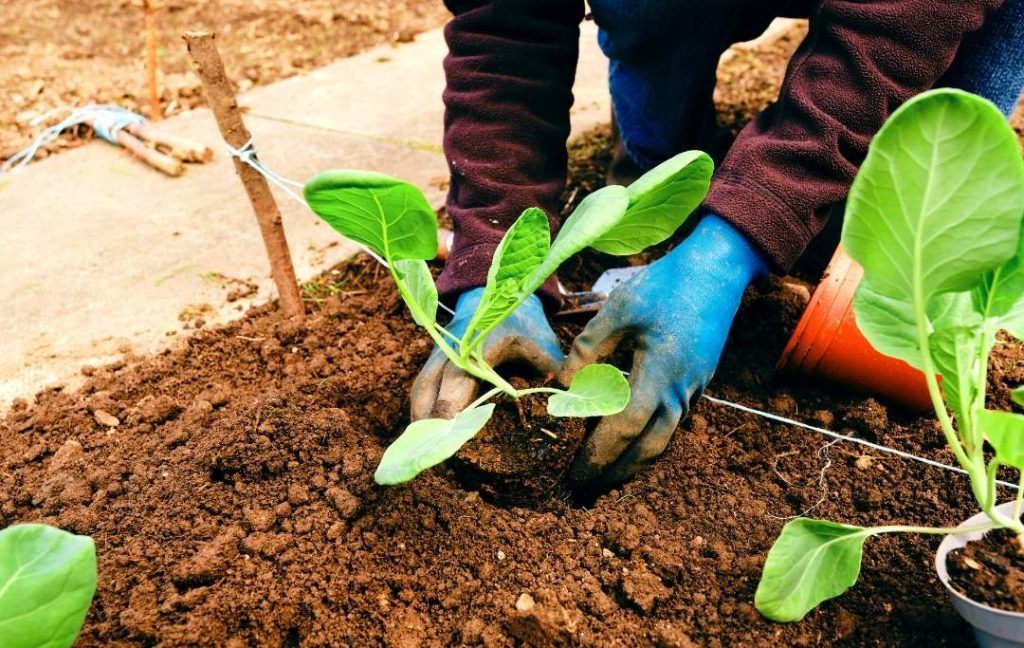
- Plant your seedling at a particular distance like at least 12 inches apart. Water well when you transplant them.
Care of Brussels sprouts In Raised Beds:
To thrive well in raised beds Brussels sprouts require the following things:
Trimming:
Trimming or pruning always stimulates growth, as you know these plants grow best in the winter climate so trim them before the first frost if you want to get a high yield.
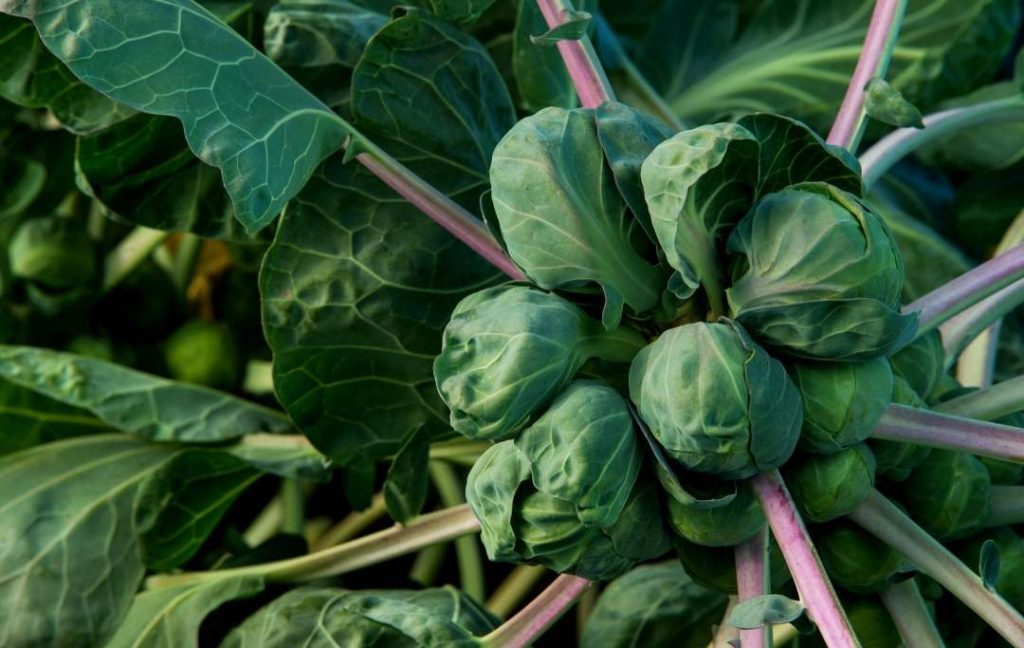
This will stimulate the plants to produce big-sized sprouts instead of taller ones. Brussels sprouts mature from bottom to top, so while harvesting cut them from bottom to top.
Generally, lower leaves turn yellow when sprouts get mature. Just remove these lower leaves. When they are 1 inch in diameter, you can start trimming the bottom sprouts by gently twisting them with a stalk or cutting them with a sharp knife.
Covering:
Like other members of the Brassica family, Brussels sprout seedlings can be harmed by flea beetles, so after transplanting your sprouts cover them with a row cover for a few early weeks of growth.
Suitable Spot:
The optimum conditions for Brussels sprouts to grow are a sunny spot and a moist soil. Because Brussels sprouts and other plants of the cabbage family (such as bananas, collards, or broccoli) are susceptible to various soil-born diseases so it is best to rotate your crops in the garden, as it reduces the loss cause by these diseases. Avoid planting Brussels sprouts where you last grew anything from the cabbage family.
Watering:
If you want a large size harvest then regularly check you’re watering, because if the soil becomes too dry, the sprouts will shrink and will not grow fully. Check the soil frequently and if there is dryness add water to it, but keep in mind do not overwater your plants.
Soil:
Brussels sprouts like acidic to neutral soil. And it must be fertile with high draining capacity. If you have doubt about fertility then add organic matter into the soil.
Organic matter also increases the moisture-retaining ability. Soil pH should be between 6.5 and 7. Brussels sprouts like the soil around them to be firm, but not compacted. So tap it gently
Temperature:
Brussels sprouts like temperatures between 45 and 75 degrees Fahrenheit. They are highly frosted tolerant and this can improve their taste too. It is not a hot climate crop; sprouts that mature in hot or dry weather are bitter and weak.
Feeding:
When plants start growing provide them necessary fertilizer. Most recommended is nitrogen fertilizer. When they attain a size of 12 inches regularly check the nutrient content of the soil and feed your plants once a month.
Diseases Control:
Brussels are susceptible to many diseases like blackleg, black rot, and club root. Disease control is best achieved by rotating the crop each year. Club root can be reduced by increasing the soil pH to about 7.0.
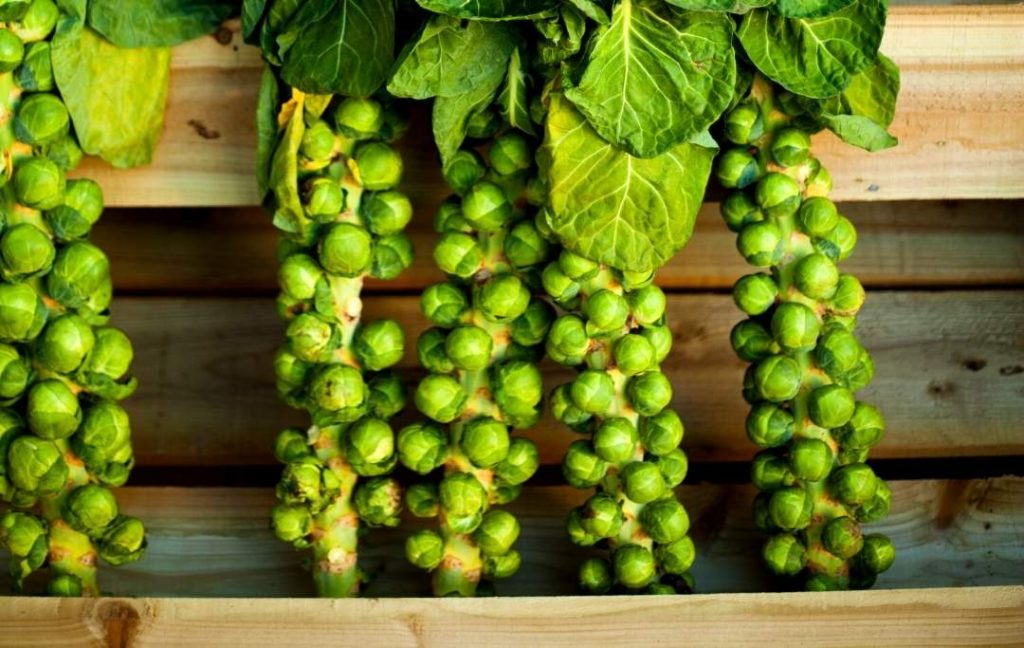
Harvesting:
Sprouts will appear within a few days after planting and they become able to harvest within 80-85 days after plantation. Cut the sprouts in a specific way like from bottom to up.
When they reach a diameter of two inches it is an indication that now they are able to harvest. Pick the sprouts as soon as they attain the maturing texture because if you get late they become bitter.
Some environmental factors lead to the yellowing of leaves, they can affect the other leaves as well so cut them off. If you first remove the leaf below the sprout, then bend and pull the sprout.
You can cut or pull the sprouts but most of the time it’s better to cut than pull. Each plant produces about a quarter of the total sprouts.
The second crop of Brussels sprouts:
After harvest, you can expect a second crop as well. The second crop begins at the base of the stem but it differs from the first one as it does not much tight, but is still edible.
The leaves can also be cooked as greens. At the end of the season trim the plants because it proves an important factor in the promotion of growth.
Storage:
You can store Brussels sprouts in the refrigerator after harvesting for up to a week. Precautions involve not trimming or washing them before storing them.
Best Varieties of Brussels sprouts To Grow:
Oliver:
These plants have short growing season, and its sprouts reach one or two-inch in length. Moreover, they have compact growing habits and are resistant to various diseases. It becomes able to harvest within 80 days.
Royal Marvel
Royal Marvel is an early and fast-growing plant. The sprouts come in round shape and dark green color. This type is resistant to rot and the burning of tips. It is worth planting because you can expect harvest in a short time like less than 80 days.
Rubine
These plants have a low growth rate and produce low yield as compared to others, they are grown because they have flavorful heads. They will be ready for use in 85 to 95 days.
Bubbles
This variety bears heat and drought, its sprouts grow almost two inches long and they are resistant to some fungal diseases like rust and mildew. This hybrid produces a harvest in seventy to eighty days.
Long Island Improved
As Brussels sprouts do well in cold winter long island improvement is highly frost tolerant, and this feature make it more delicious then others. And because of this quality, it is more commonly present in markets today.
Moreover this hybrid has medium-sized heads with nutty, earthy, buttery flavor that’s pretty hard to beat. They take a bit longer to get mature as usually in 100 or more days.
Churchill:
This hybrid is important because it has fast growth and it gets mature within a short time. Hot climate can affect their yield, so if they grow in early spring they do not produce remarkable heads. And nothing makes a Brussels sprout scantier than heat.
When you grow Churchill you can expect a high yield, and get harvested quickly as it gets mature within 90 days. A single plant can produce more than 14 ounces of heads which is quite amazing.
Jade Cross
Sometimes you want a bunch of monster veggies for your dining table, and sometimes you want them to be a bit more bite-sized. Jade Cross can be growing anywhere. The colors of its sprouts are deep green, and they can grow in size of an inch or half.
This plant is disease resistant, as it grows with a compact habit, it does not fall as quickly as some of the taller varieties. It produces harvest within 85 days. It gets quickly mature which makes it superior.
Protection of Brussels sprouts From the Harsh Environment:
Naturally, in cold winter, your garden will experience climatic conditions that are not good for your plants. A long exposure to freeze can cause serious damage to the ground as it solidifies it which results in the death of plants.
If your forecast is severely frozen, you can cover them with a layer of mulch or floating line cover.
Mulching:
Add a thick layer of mulch as it increases the temperature of the soil and prevents it from freezing. Try to use organic mulch like chopped leaves, straw, wood chips, or compost. It also helps to protect the ground from repeated freezing and thawing.
Place several inches of mulch like at least 12-inches in diameter around each plant, or simply cover your entire bed if you have multiple plants growing together.
Floating row covers:
These row covers help in maintaining the temperature, as they increase the temperature around the plants and protect them from freezing. Wrap the fabric over your plants and secure them at the soil line with rocks, stakes, or bricks.
Make sure that there is no way for the entry of air, and check if there is any gap in the fabrics. To avoid the risk of blending of plants by falling of row covers when snow fall on them, provide a support system like stake your covers.
Recent Posts
Growing bell peppers from seeds is possible; however, because they thrive in warm environments, it is better to begin the process indoors approximately eight to ten weeks before the last frost. The...
Thank you for visiting our guide to growing tomatoes in plastic bottles that have been recycled. Within the context of this forward-thinking and environmentally conscious method of gardening, we will...