As kale is a cold lover plant so you can plant it in early spring or late summer. You will get the sweet flavor of kale if you grow it in cool weather. The botanical name of kale is Brassica oleracea var acephala.
It is a member of the brassica family, cabbage, broccoli, and brussels sprouts are also part of its family. Kale is a versatile plant you can grow it anywhere like in a raised beds, traditional ground beds, containers, pots, or even in a jar without soil.
This vegetable is a great source of healthy nutritious vitamins, you can use them fresh in your salads as they are edible without cooking.
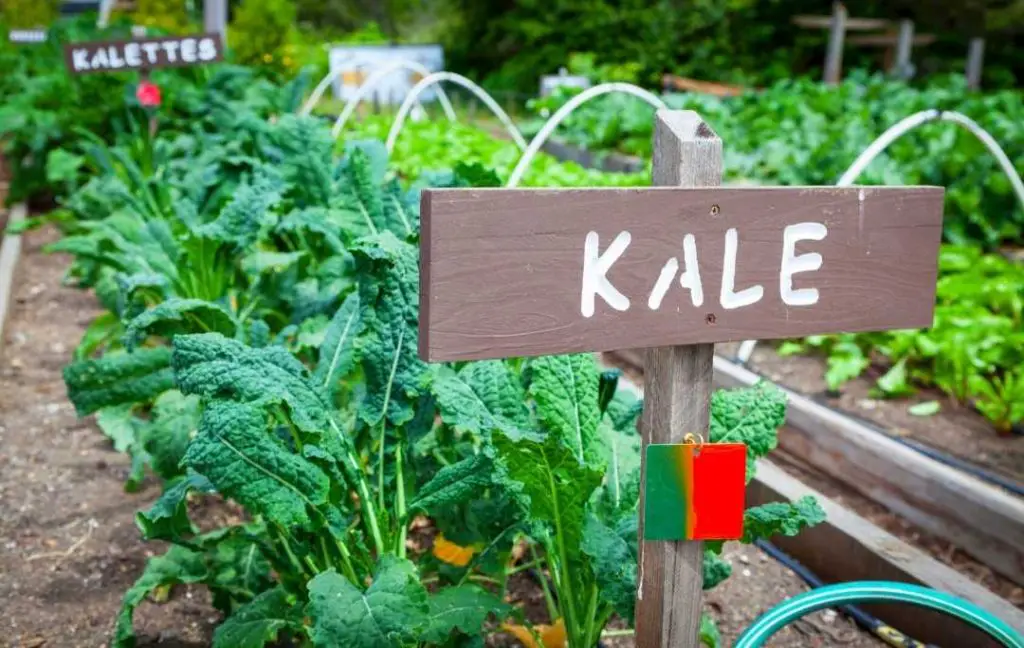
In this article, you will get all the information about planting, growing, and harvesting this nutritious leafy green in a raised bed. If you are facing the problem of little space then a raised bed is a good option in that situation.
When you make your mind to grow kale in your raised bed for your kitchen garden then the first question that comes to your mind is which variety is best.
BEST VARIETIES OF KALE
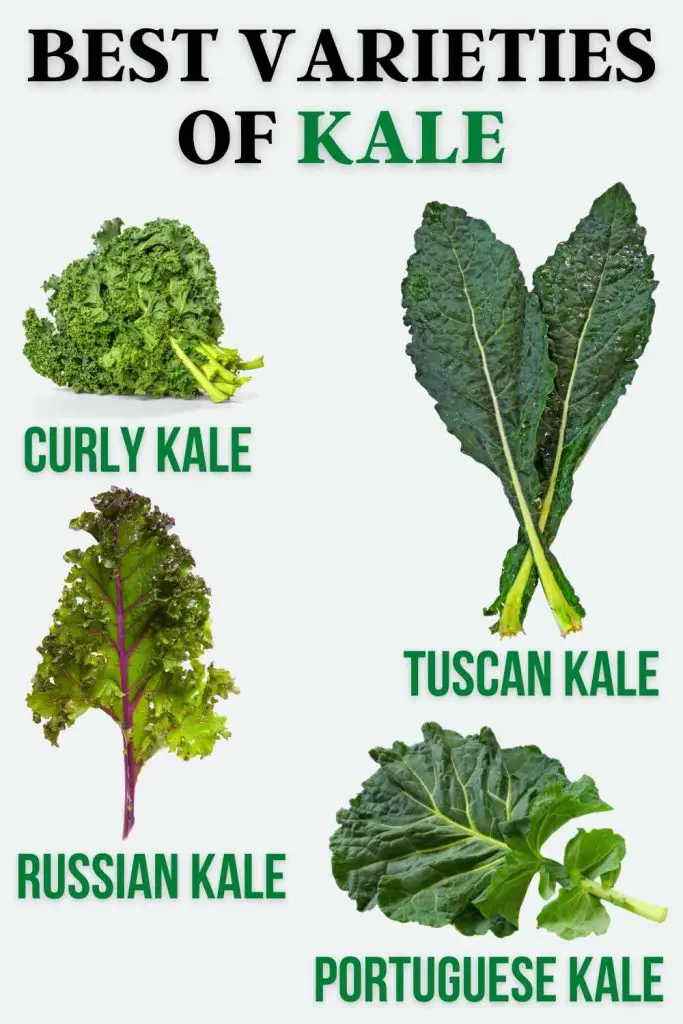
There are many varieties of kale that are productive if you grow them in a raised bed. You should try dwarf green curled, cold tolerant, and a high-yielding variety. The maximum height of the plant should be 18 inches as you are growing it in a raised bed. Here are some varieties which you should prefer.
CURLY KALE
The color of leaves is light to medium green with deep frills and tolerate cold. This variety of kale is available in grocery stores. Blue Curled Scotch, Dwarf Blue, Redbor, and Winterbor are some curly kale varieties.
LACINATO OR TUSCAN KALE
This is an Italian variety that has long, narrow and large leaves. The color of the leaves is green to bluish. This variety can grow several feet tall, when this plant reaches its maximum height then it looks like a palm tree. You can make kale chips with flattened leaves of this variety.
RUSSIAN KALE
The leaves of this variety look like the shape of large arugula or oak leaf lettuce. It is said that this variety is very sweet and tasty as compared to other varieties. Although the size of the leaves is very large, this variety remains tender.
PORTUGUESE KALE
This variety has large, wide, and flat paddle-like leaves and has white veins. This variety can tolerate more heat than other varieties.
WHEN TO PLANT KALE?
Time is the key to success. You should do some research about planting kale. From the local nursery or the packet of seed, you can take information about the best time of planting kale according to your area.
The correct time of planting depends upon the climate in which you are living. The packet of the seeds had all the information and instructions about the planting of seeds of kale.
- The early spring is the best time for planting kale if you want to get a summer harvest. In the garden, you should plant it 3-5 weeks before the last frost. If the temperature is very low then you should cover the young seedlings. On cool nights the young plants can’t tolerate the cold weather.
- If you want to get a fall harvest then plant the kale 6-8 weeks before the first fall frost. Frost increases the flavor of leaves so don’t worry about it.
CHOOSING AND PREPARING A PLANTING SITE FOR KALE
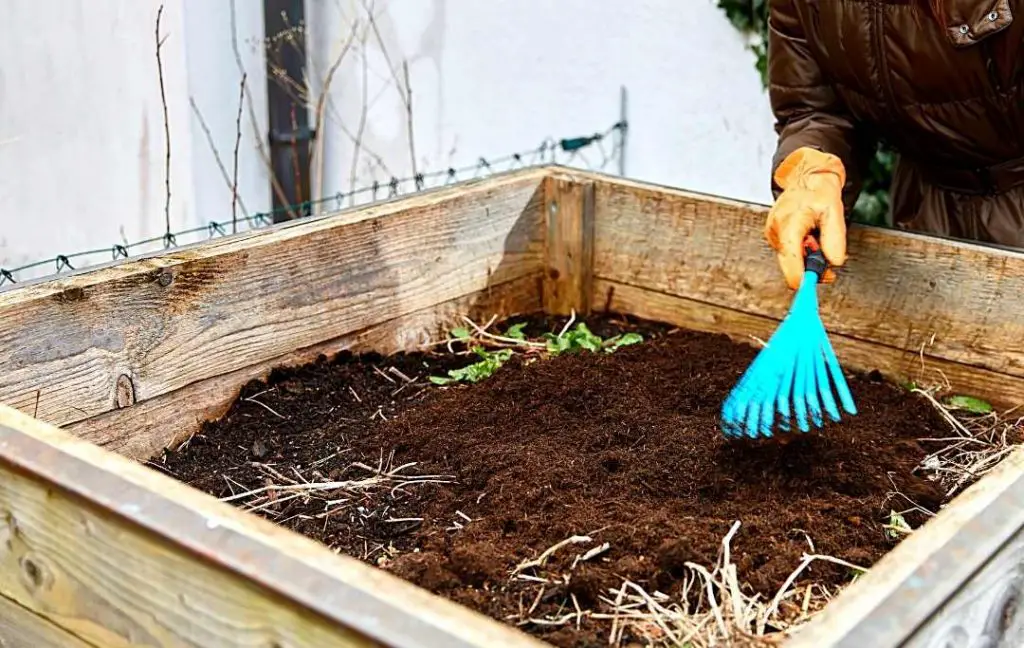
The site of the raised bed is very important for the healthy development of kale plants. Sunlight, water, soil, and the best fertilizer work great in the growth of any plant.
- Choose a sunny spot for your raised bed. As you know that sunlight is best for plants for making their food. In the case of kale like other plants it will grow well in full sun but it can tolerate partial shade. Kale plants need 6 to 7 hours of sunlight. If you are living in a hot climate then choose the location that receives some afternoon shade. But in the fall, it is better to arrange more sunlight.
- The pH of the soil must be 6.5 to 6.8. It is suggested that don’t use garden soil in your raised bed but buy high-quality soil. But if you are using garden soil then use a kit to test the pH of the soil.
- After the test of the soil, you will know what should be added to the soil to fill the deficiency. You can amend the soil by adding nitrogen-rich compost or blood meal. Kale plants will become highly productive if you provide nitrogen, phosphorus, potassium, minerals, and organic matter.
- Beneficial microbial activity will increase the production of the plants. If you didn’t test the soil then simply add compost in the raised bed. You can also make compost at home but ready-made compost is another option.
- If you want tender green leaves of kale then you need well-drained soil. At planting time, add 3 to 4 inches 5-10-10 fertilizer on the top of the soil.
HOW TO PLANT KALE?
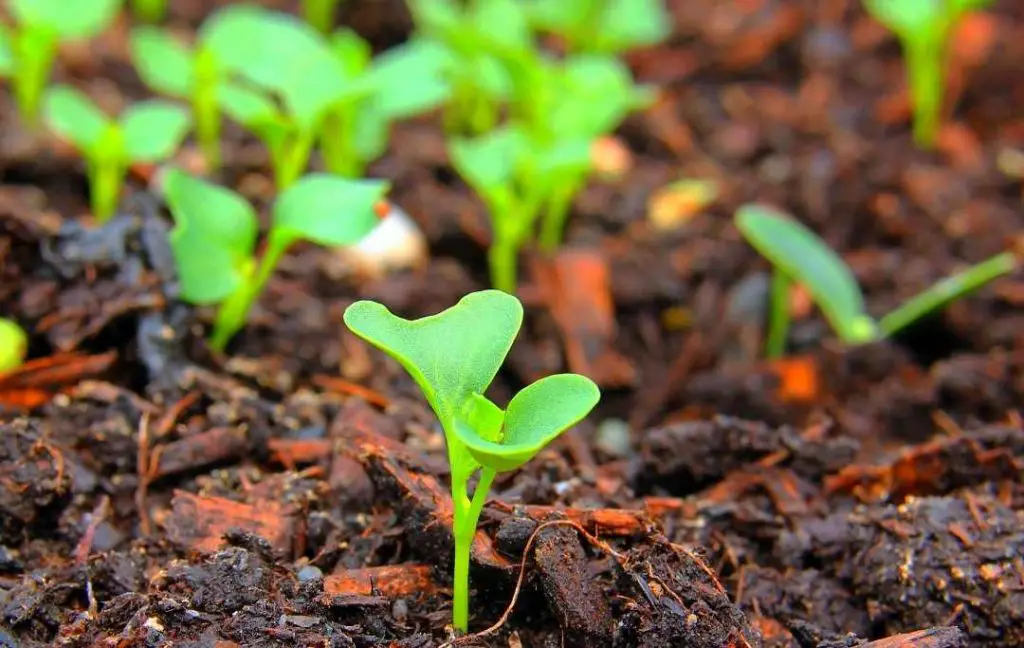
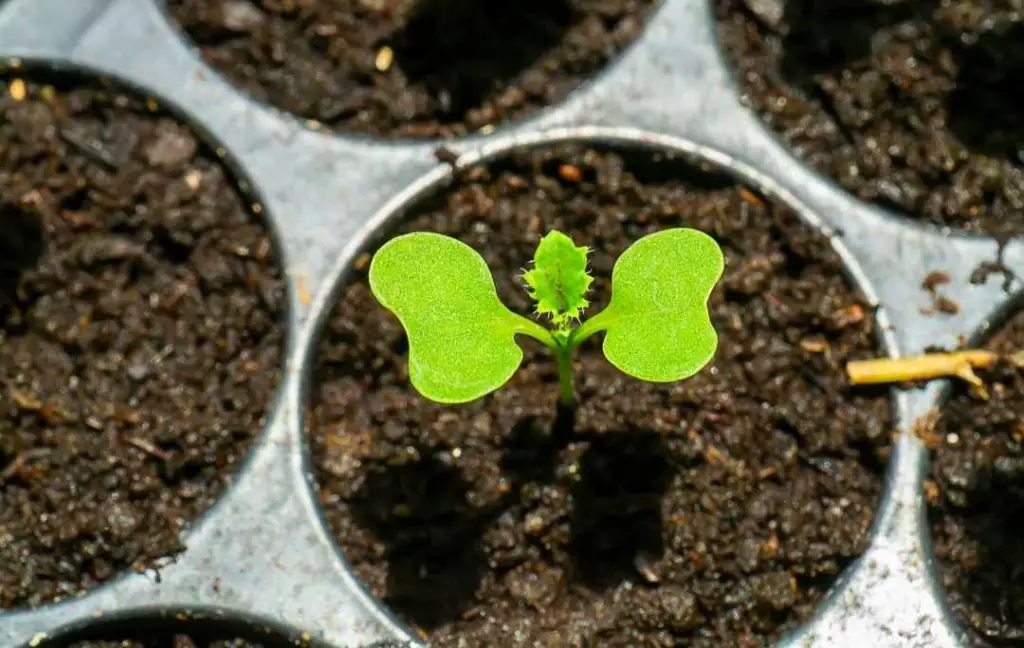
Kale can be grown from seeds or seedlings. You can directly sow the seeds in the raised bed or plant the seedlings. If you are using seeds for planting then follow the following instructions:
- Sow the seeds ¼ to ½ inch deep in the soil. The space between the seeds should be 8 to 12 inches. The soil should be well-drained and light soil. Within 2 weeks you will see young and thin seedlings.
If you are transplanting seedlings then follow the following instructions:
- Plant the seedlings at the same depth at which they are growing in the pot. The space between the seedlings should be 18 to 24 inches.
NOTE:
In both cases, after planting, water your kale plants well.
HOW TO GROW KALE?

After planting seedlings or sowing seeds in the raised bed, your kale plants need water and feed.
- Make sure your plants get water regularly. In case of inconsistent rain, provide at least 1 to 1.5 inches of water per week.
- Provide regular feed to the plants so they flourish and you will get a consistent supply of leaves. When you see your plants are established in the raised bed then add the right amount of fertilizer, aged compost, and fish emulsion every 6 to 7 weeks throughout the season. Apply a thin layer on the soil of the raised bed.
- To avoid weeds, you can mulch the soil. The other benefit of mulching is that it keeps kale cool, as it is mentioned above kale is a cool crop so it can’t tolerate hot weather.
- If you are growing the kale in the fall and the weather is very harsh then you should heavily mulch the soil, especially after the first hard freeze. This will help the plants to produce nutritious green leaves throughout the winter season.
PESTS AND DISEASES
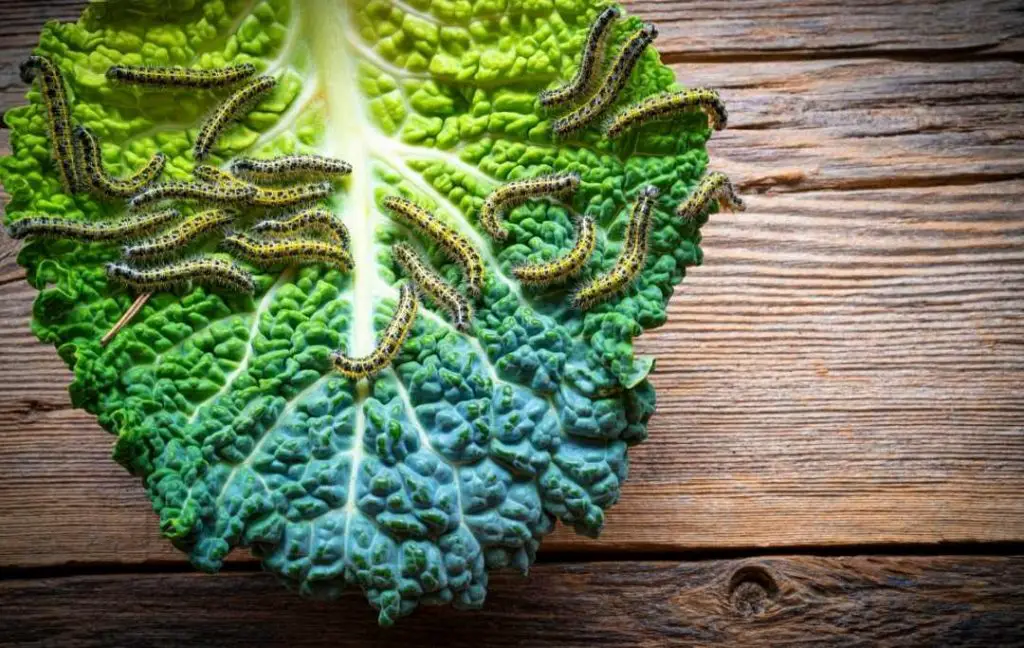
Pests like to eat leafy green kale. It means not only humans like kale several insect pests love to eat kale and turn it into a bunch of defoliated stems. So keep an eye on your plants and protect them from these harmful insects.
CABBAGE BUTTERFLIES AND CABBAGE WORMS
White butterflies and green worms are dangerous for your plants. You can’t notice cabbage worms easily due to their color. You can use pesticides to prevent your plant from these tiny monsters.
CABBAGE LOOPERS
They look like cabbage worms but they are larger than cabbage worms. When they crawl on the surface of the plant they make a loop. The cabbage looper is a caterpillar of a grey moth.
It can produce 600 eggs during its short span of life. Handpicking is a way to get rid of this harmful insect. You can also use sprays to prevent your plant.
APHIDS
Aphids are found in different colors and sizes. They suck the juice from the leaves of the kale, after that your plant will turn yellow. Water the kale plant with heavy pressure so you can protect your plant from the attack of these harmful pests.
As they are wingless so they can’t fly and unable to get back on the plants. You can make your homemade spray of dish soap and water or you can also use neem oil to prevent your kale plant.
Some diseases which are spread by fungi or bacteria are also a threat to kale plants.
ALTERNARIA LEAF SPOT
This is a fungal infection that can cause brown and grey spots on the leaves. This disease spreads in a wet environment so keep the leaves dry to prevent your plant. You should water the soil not the plant.
BLACK ROT
The main reason for this disease is bacteria. Brown and papery spots can be seen on the leaves when your plant is affected by this disease. At last, the stem of the plant will turn black and all the leaves fall off.
Keep an eye on your plant to take action against spots or pests and treat your plant as soon as possible so your plant will be happy.
HOW TO HARVEST KALE?
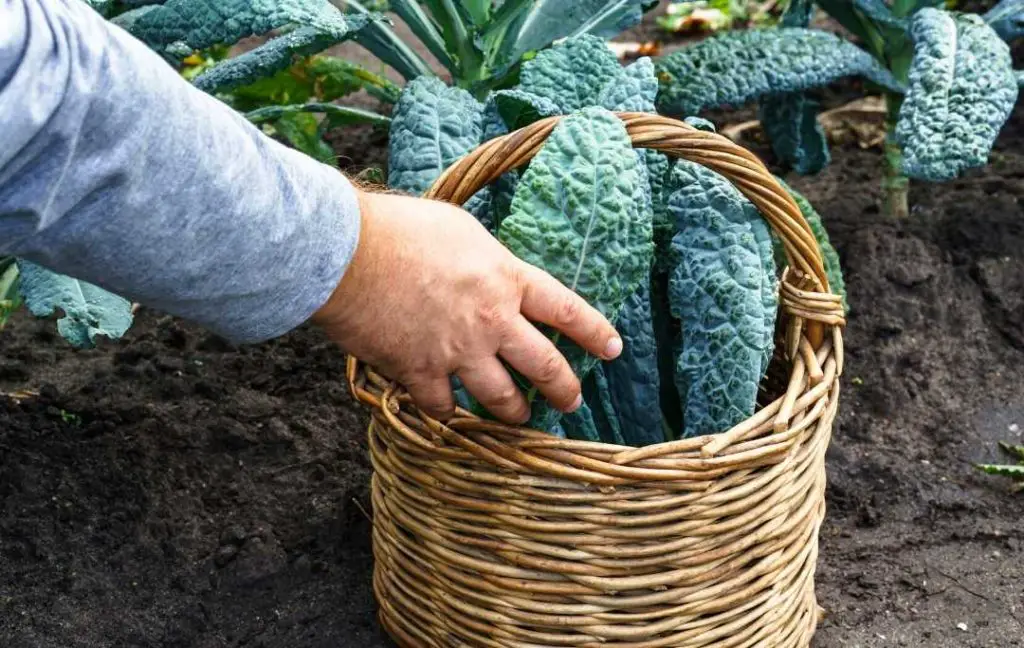
If you are growing kale from seeds then it will take full two months for growing full size. But you can pick a few leaves whenever you need them.
- The size of the green leaves is about the size of your hand, so this the best time to harvest the kale.
- It is suggested that pick about one fistful of leaves per harvest. Harvest old leaves first and from the lower section. Do this every week or whenever you need the kale leaves for cooking purposes or your salads.
- If you see any yellow or torn leaves then discard them at once. These leaves are not good for your plants.
- The terminal bud which is found at the top center of the kale plant helps to keep the plant productive if you avoid picking the leaves from this part of the plant.
- If the temperature is 20F then kale will produce continuously. You will get a sweet taste of leaves after a touch of frost. For extending the harvesting you should shield your plants with row covers from cold.
- You can use uncooked small leaves of kale in salads. If you are using large leaves of kale which are just like spinach leaves then before cooking, first remove the tough ribs of the leaves then cook.
HOW TO STORE KALE?
It may happen that you have harvested the leaves which you don’t need at that time then you can store them. The leaves of the kale can be stored just like other leafy green vegetables.
First, put the kale in a loose plastic produce bag and store the leaves in the refrigerator for later use. You can use these leaves within one week.
Recent Posts
Growing bell peppers from seeds is possible; however, because they thrive in warm environments, it is better to begin the process indoors approximately eight to ten weeks before the last frost. The...
Thank you for visiting our guide to growing tomatoes in plastic bottles that have been recycled. Within the context of this forward-thinking and environmentally conscious method of gardening, we will...