As you know forests are completely self-sustaining. Interestingly, no one maintains a natural forest, yet they are the most productive part of ecosystems on Earth.
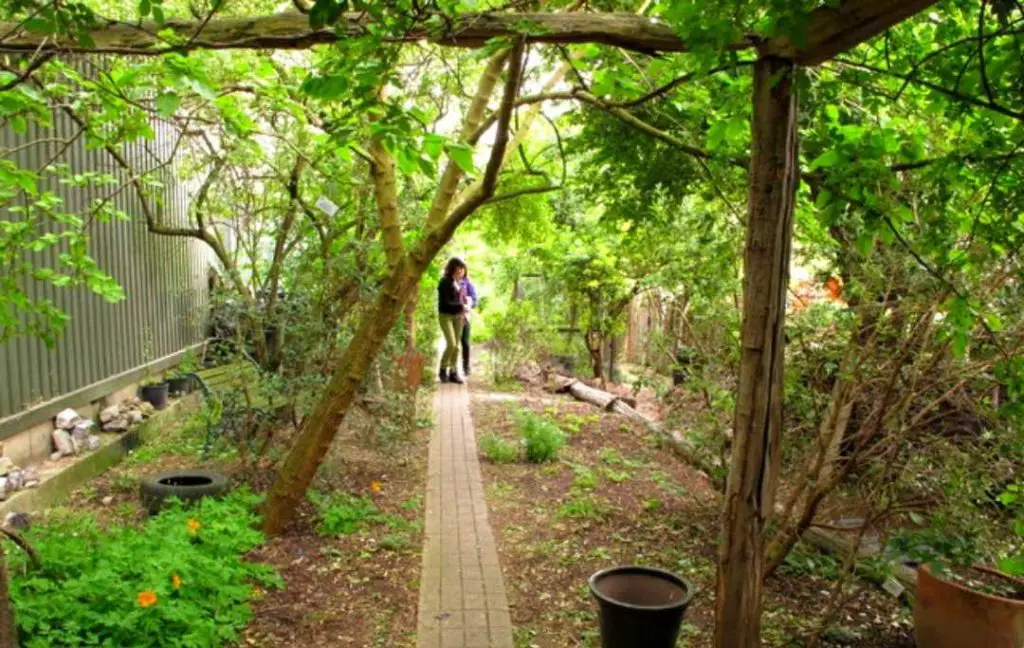
Seven layers of plants are part of every forest. These layers are overstory canopy trees, understory trees, climbers, shrubs, herbs, ground covers, and root layers.

Here we are going to talk about how to start a food forest but first, we should get some information about food forests.
What Is A Food Forest?
A food forest is best for tropical regions but it is also possible in temperate climates as well. The other name of the food forest is forest garden. According to Wikipedia
“Forest gardening is a low maintenance, sustainable, plant-based food production and agroforestry system based on woodland ecosystems, incorporating fruit and nut trees, shrubs, herbs, vines, and perennial vegetables which have yields directly useful to humans”.
The layers of the forest help to grow food for many years to come. You can create a permaculture food forest by growing a combination of plants and trees. There are many benefits of growing plants together in the same place.
Benefits Of A Food Forest
As mentioned above a forest is a place that takes care of itself without human intervention. A food forest is a place where you can grow edible plants.
A food forest is a low-maintenance growing area that needs little care. It needs little water than a garden. There is no need to apply pesticides and fertilizer.
Such forests don’t need to be weeded because all parts of the food forest work together and enhance each other. Following are the benefits which you get from the forest garden.
- The plants which you grow in the forest garden are perennial. So there is no need for digging or tilling the soil. In this way, the structure of the soil will not disturb.
- The organisms which live in the soil such as bacteria, insects, fungi, and earthworms play an important role in the process of decomposition. Trees, shrubs, and perennials have deep roots which help to hold the soil in place and protect it from erosion of precious topsoil.
- You will get a natural layer of mulch when plants shed their leaves on the ground. The earthworms and microbes get their food from these leaves and turn them into beneficial nutrients for the plants. It means no fertilizer is needed for food forests but some heavily harvested plants need compost. You will easily prepare compost at home.
- Most of the perennials have deep roots so they can easily reach deep into the soil for the search for water. Occasionally slow and deep watering is recommended for your plants.
- Lower-growing plants get shade from tall trees and shrubs. This will reduce the stress on the plants during hot summer days. The fallen leaves and ground covers also help to maintain the moisture of the soil.
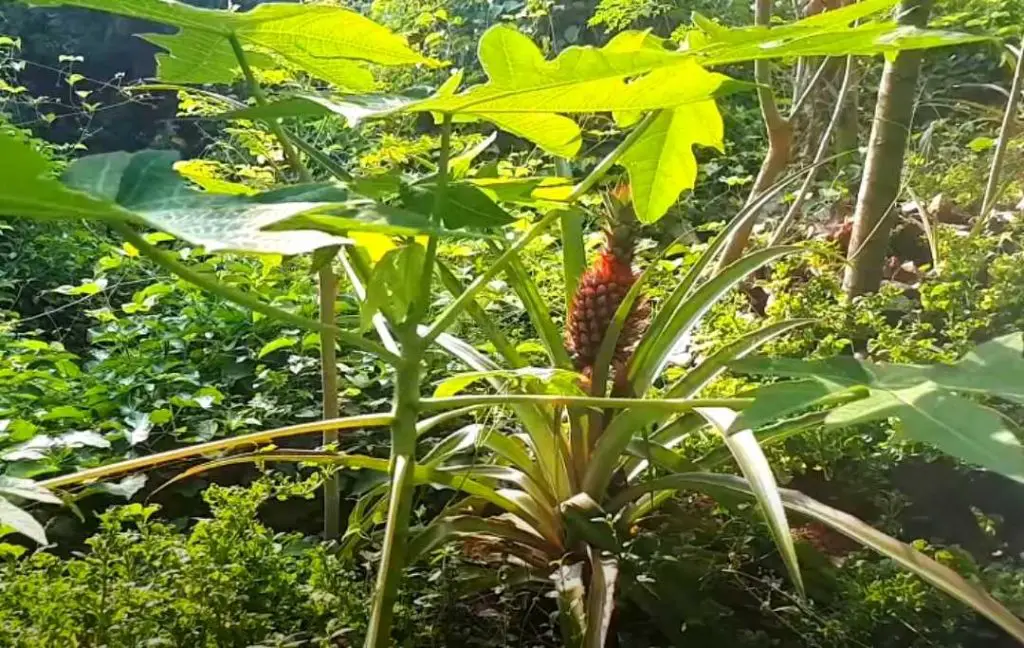
- A food forest supplies edible plants nearly year-round. But it depends on the climate in which you are living.
Step By Step Guide To Creating Your Food Forest
We will discuss with you some simple steps that will help you create your food forest.
Step 1: Make A Plan
After deciding that you want to create a food forest, you should plan to accomplish your purpose. You have to think about the following points before starting a food forest.
- What do you want from a food forest? It is an important question and you have to think about it.
- What type of fruit and vegetables do you want to grow in the frost?
- Think about the climate in which you are living. According to the climate, you can decide which food you can grow. For instance, if you live in a cold climate and love to grow bananas in your food forest then you can’t grow them.
- It means you can’t grow everything you want to eat. You can ask any local nursery what type of food you can grow according to the weather and climate of your area. If your neighbors and friends are interested in gardening then you can also ask them.
- You should think about all the resources which are necessary for growing plants in your food forest. For example, a water source which is very essential especially in dry weather.
- Your budget is also very important. How much money do you have to start a food forest?
Step 2: Choose Your Location
The location of your food forest should be near to your house. A small food forest can be started by using permaculture food forest principles.
As you have a small area so you can only grow a few small trees and shrubs in the corner of your food forest. The area should be open, sunny, and near to the water source.
Step 3: Observe And Interact
After thinking about all the points which are mentioned above and choosing the best sunny location for a food forest. Now, this is the time to observe all the important aspects such as climate and plants.
You should make careful notes to see an interaction between the wildlife and plants. Keep an eye on what is growing and what is thriving in your food forest.
How much sunlight and shade is your land receiving? The soil is an important factor because this is the medium where your plant gets all the nutrients. You should carefully examine the type and quality of the soil and nutrients present in it.
The drainage of the soil is another important aspect. You should observe how storms, drought, and rainfall affect food forests. You should have all the knowledge about insects and wildlife growing on your land.
Step 4: Create A Map
This is a very important step, it doesn’t matter what size of food forest you are going to create. Maps are very helpful to figure out where everything should go.
According to the land you have, you can make a map for your food forest. A map helps you to adjust your plants in the food forest. You should carefully choose the location of the plants according to their type.
There is no need for an artist or master gardener to draw the map. A simple sketch is enough. There are seven to eight layers of the food forest and your map should have all these layers.
Your map must show the water sources and other important structures like trees and houses. These structures can block the sunlight so you should choose that part of the land for growing plants where they receive good sun exposure.
In your map arrange the tallest trees on the northern side and the smallest trees on the southern. In this way, your plants will get an accurate amount of sunlight. If you are planting shade-tolerant plants then there is no need for this arrangement of plants.
Read More

Step 5: Prepare The Soil
Preparation of the soil is very important. Before planting you should improve the structure of the soil. It will save you time in the future. If you want better production then you should focus on the soil earlier and make it perfect for your plants. In this way, you will get better results rather than planting immediately.
There are many ways of improving soil quality.
Soil Amendments
You can add amendments such as fertilizers, aged manure, straw, worm casting, and compost. The best way of adding these items is to mix them with the help of your hand or till them into the soil if desired.
This will help to increase the fertility of the soil and your plants get all the basic organic materials and nutrients for future growth. For a small food forest, this is a quick way but very expensive and time-consuming.
Lasagna or Sheet Mulch Method
If you want to prepare the soil for your food forest within one season then the lasagna method of gardening is best for you. For the lasagna or sheet mulch method, you should lay down cardboard on the place where you want to grow plants.
On the top of the cardboard spread a layer of manure, grass clippings, and wood chips. This method will help you to kill the weeds and bring beneficial worms to the soil for the decomposition process.
This will improve the quality and structure of the soil. This method is suitable for only small food forests because if you have a large area then it is not possible for you to lay down in cardboard and manure.
Soil Moderators
If you have one year to make ready your food forest then you can plant some soil moderators and cover crops.
Clovers and legume trees will help to maintain the nitrogen content in the soil of your food forest. This will help to prepare the soil to create a food forest for growing edible plants.
If you want to grow delicate plants then cover crops will prepare the way for them. You can remove cover crops and legumes as needed and plant food forest plants that you decided to grow.
Step 6: Planting The Canopy Layer
The canopy layer consists of the tallest trees and nut trees. This is the first layer of the food forest. The local nursery can provide you with all the information about the tallest trees which can grow well in your climate.
Multiple trees are recommended so they can easily be pollinated. Early spring is the best time to plant these tall fruit trees. Little care is needed after planting fruit trees because at an earlier stage they are slightly delicate. Here are some tips for planting fruit trees.
- Dig a hole in the soil for planting trees. Make sure the hole is deep enough to fit the roots of the plants. It is recommended that you should not plant the tree too deeply.
- After putting the plant in the hole, fill it with the soil then cover the area with compost and mulch.
- Water thoroughly.
Step 7: Plant The Understory And Shrub Layers
This layer consists of dwarf trees and bushes. These plants need ample space and proper sunlight to grow. Bare root bushes need time to establish but once they are, they will come back year after year.
Step 8: Plant Your Herbaceous Layer
Now, this is the time to plant herbs such as mint, rosemary, oregano, thyme, asparagus, sage, etc. You should choose the location according to the requirements of the herbs.
Because some herbs love to grow in full sunshine but some prefer shade. The best time for growing herbs is in spring after the last frost.
Step 9: Plant Any Smaller, Ground Cover Plants
These smaller plants can tolerate shade and you can plant them after the last frost. Alpine strawberries, Nasturtiums, and lettuce are the best options.
Step 10: Adding Vining And Root Crops
These plants are annuals so you should add them in the end in your food forest. Potatoes, sweet potatoes, squash, cucumber, pumpkin, and grapes are examples of these plants.
The vining plants need support so they trained themselves on the established trees and shrubs. You can also use trellises or fences for this purpose.
Step 11: Consider Adding Chickens
For a perfect food forest, you can add chickens. They eat any leftovers and turn over any bare ground. They also eat bugs that are harmful to your edible plants.
Step 12: Have Patience
A permaculture food forest takes time to establish because it is a multi-stage process. For a small food forest, you can do it in one season but for a large area, it is not possible.
You should show patience and give some time to your food forest because it will give you plenty of food for many years to come.
Read More
- Permaculture Garden Techniques Every Beginner Should Know
- Best Plants For Berms And Swales
- How To Start A Permaculture Kitchen Garden?
Recent Posts
Growing bell peppers from seeds is possible; however, because they thrive in warm environments, it is better to begin the process indoors approximately eight to ten weeks before the last frost. The...
Thank you for visiting our guide to growing tomatoes in plastic bottles that have been recycled. Within the context of this forward-thinking and environmentally conscious method of gardening, we will...