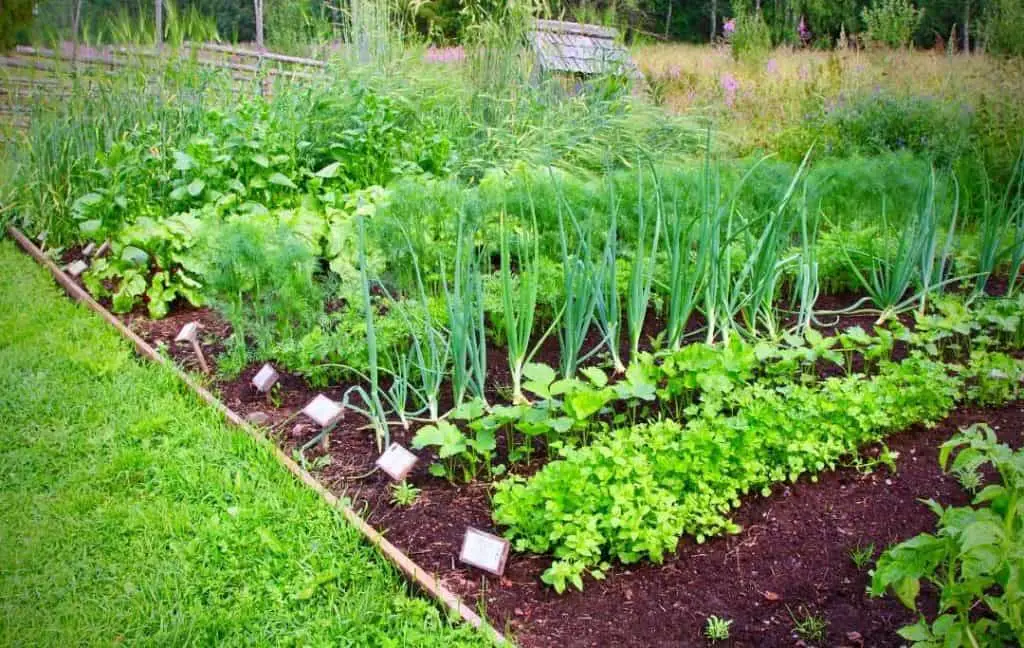
Adopting different techniques and following different tips you can boost your vegetable production. Your garden will become the best source of cooking material for your kitchen. You can’t buy fresh vegetables from any store which you get from your own vegetable garden.
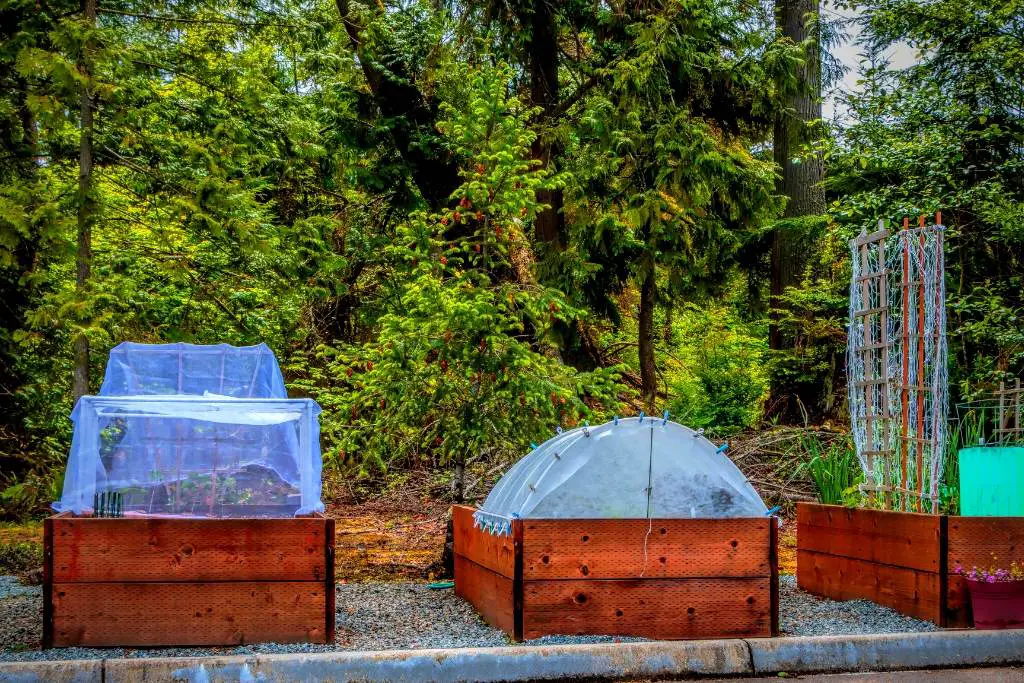
The fresh vegetables will heighten the taste of cooking dishes. If you want to grow vegetables but you have limited space then raised beds can solve your problem. The plant lovers easily grow many vegetables in a small area of their home, by using raised beds, planters, and containers.
Now it is possible for any person to grow more food in less space. Raised beds have many advantages like if you have any physical issues you can adopt this way of part. Kneeling and bending is an important part of gardening, you can avoid your back pain by planting your vegetables in a high raised bed.
The raised beds can go anywhere, the shifting of raised beds from one house to another house is very easy. You can get a chance to show your creativity, you can paint your raised beds in a different way, you can decorate any empty space of your home. There are different ideas that show your aesthetic sense to your visitors.
If we talk about the fertility of soil then you can easily maintain it when you are growing your vegetables in raised beds as compared to in-ground beds. By using high-quality soil with compost and adding other nutrients, providing adequate light and water you can get high production of vegetables from your growing area.
Despite all the advantages mentioned above, everything has some drawbacks, in the same way, raised bed gardens also have few drawbacks. For example, in hot dry weather they dry out very quickly but with prevention and planning, you can avoid all the drawbacks.
Best Tips For Growing Vegetables in Raised Beds Garden
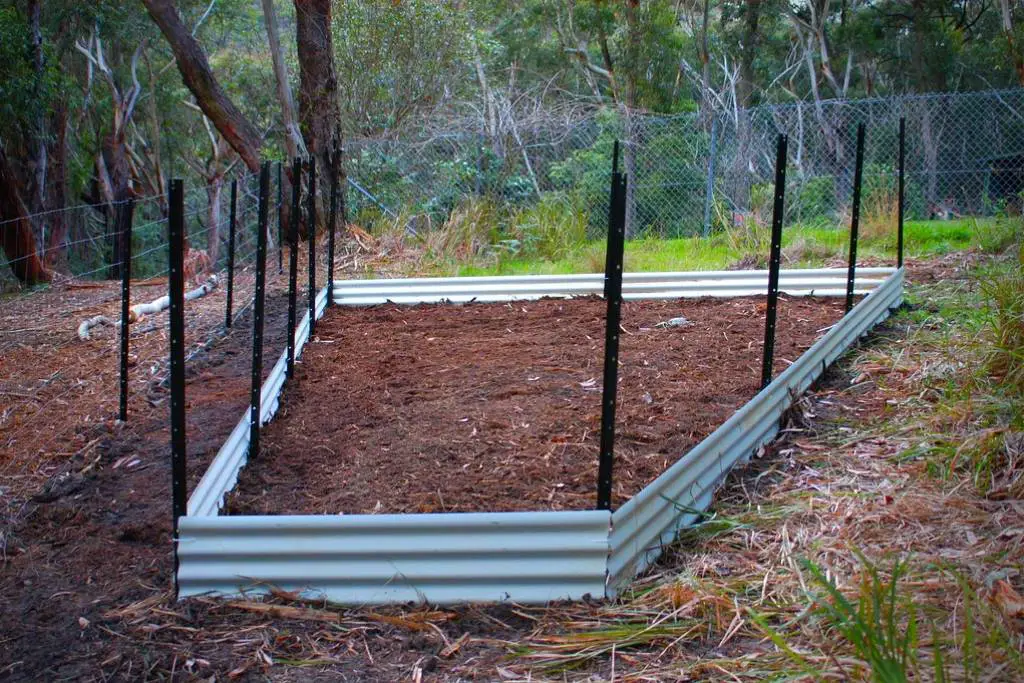
1- Size of Raised Bed
The width of the raised bed must be 4 feet and the length is about 6 to 8 feet. This is a standard size and it allows you to easily reach into the raised bed from the side to plant. Build a raised bed, in this way, that you are able to reach every part of the bed without having to stand in it.
This also helps you to dig and weed without having to step into the garden and its other important thing is the height of the raised bed The standard height of the raised bed is about 10 to 12 inches.
If you are putting your raised bed on a hard surface and want to make sure it’s deep enough for plants. Its height depends upon the type of plant you are growing in the raised bed if you are growing vegetables which have deep roots like carrots, beets, and radish then you should build a tall bed.
READ MORE: How to Build Tall Raised Garden Beds?
2- The Perfect Spot for Your Raised Bed
The location will affect your plants. Plants need full sunlight, always place your raised bed in that location which has full sun exposure. 6 hours of sunlight, good drainage, and air circulation with rich soil is necessary for any plant. Always try to plant your vegetables near the source of water and you can access tool storage and equipment.
3- Select an Irrigation System
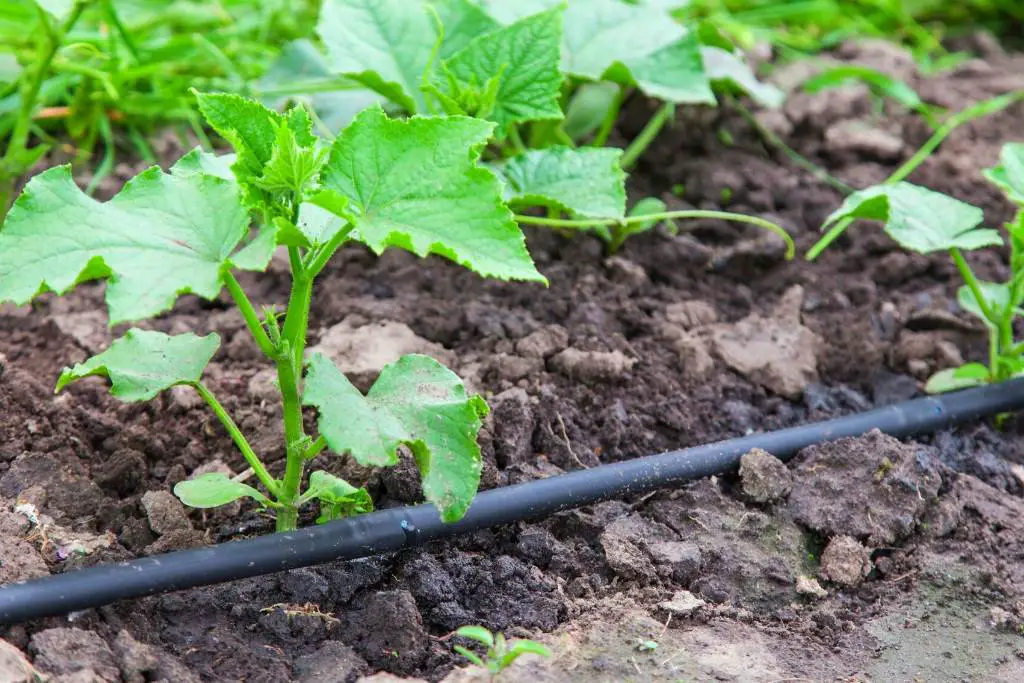
There are two types of irrigation systems, one is Soaker Hose and the other is Drip Irrigation. Select any type according to your need. A soaker hose is cheaper than a drip irrigation system. But the drip irrigation system is durable and long-lasting.
Before planting, you should make a decision about your irrigation system and installation. In this way, you can run hoses under pathways or layers of mulch. It will make it easy to adapt the bed around where the hose attaches to the irrigation system. It will save your time and trouble which you will face after planting your vegetables.
READ MORE: Best Irrigation System for a Vegetable Garden
4- Install a Barrier to Roots and Weeds
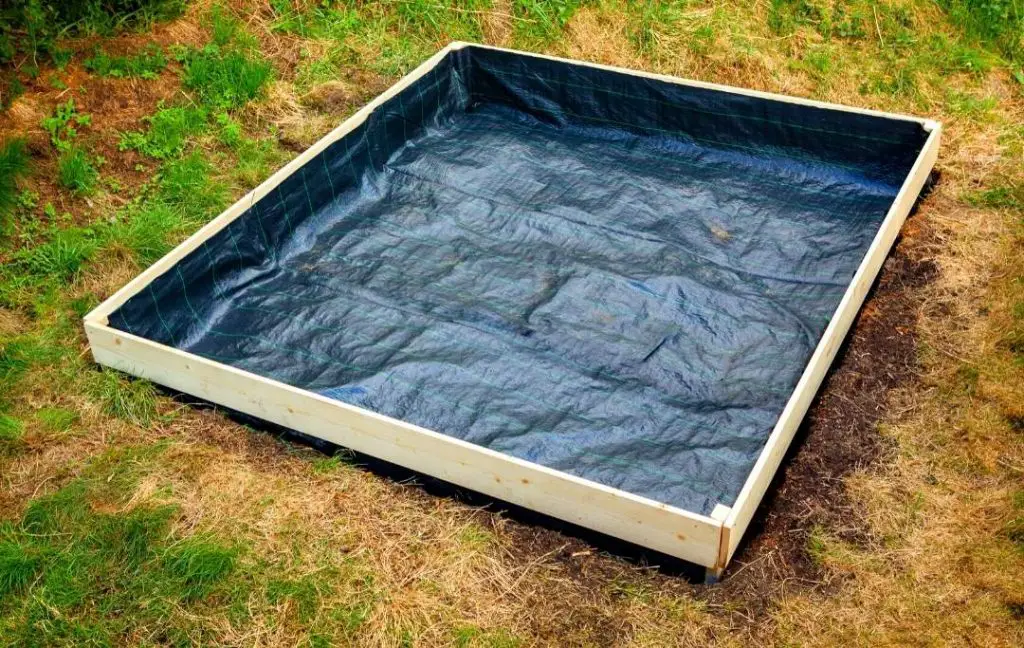
If you install a barrier at the bottom of the bed, you will not worry about weeds. This barrier could be a piece of old carpet or a thick piece of corrugated cardboard. This barrier will prevent your soil from growing up weeds which become partners of your plants to share nutrients of the soil.
By using this, your plant will be able to get full nutrients of the soil and they will not be forced to share. All the nutrients of the soil are necessary for the better development of your vegetables. The growth of the plants will be slow if they are not getting all the nutrients from the soil for making their food.
If you have already raised beds but you see that every year your plants will fight with other tree’s roots and weeds for nutrients, little hard work is needed to get out of this predicament. You should excavate the soil, place the barrier at the bottom, and refill your bed again with the soil. I know, it is hard work but it will save your plants and give you a better yield.
5- Filling of Soil of Raised Bed
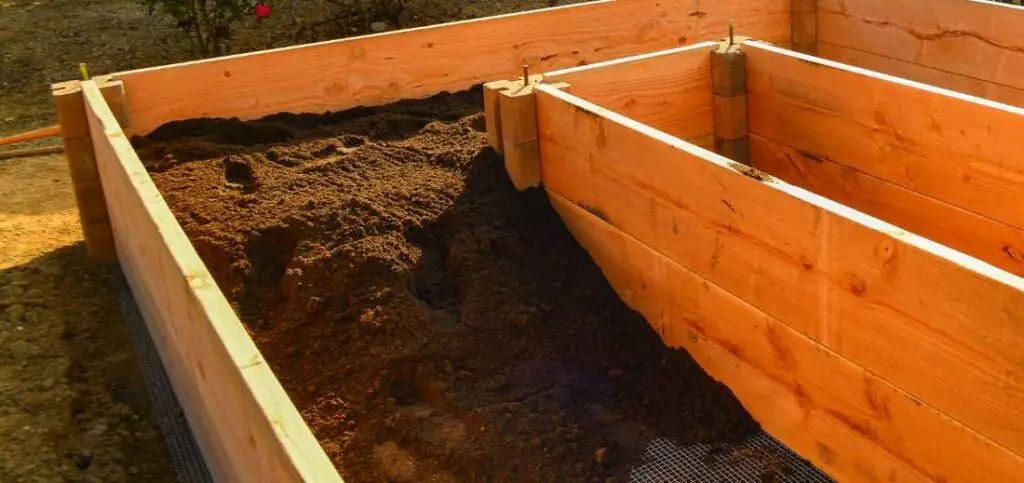
Always try to buy the best quality soil for the filling of your raised bed of garden. How much soil you need to fill in your raised bed, for this purpose, you need little mathematical calculation for this purpose. First, determine the volume by using formula
Volume= Length × Width × Depth
For example, if you have a length of 6 feet, a width of 4 feet and a depth of 2 feet, the volume would be
48 cubic feet = 6 × 4 × 2
This is the amount of soil you will need to fill your raised planter box. You can use compost, wood chips, hay, and even dry leaves of your garden for spreading in your bed.
ALSO READ: How to Fill Your Tall Raised Beds?
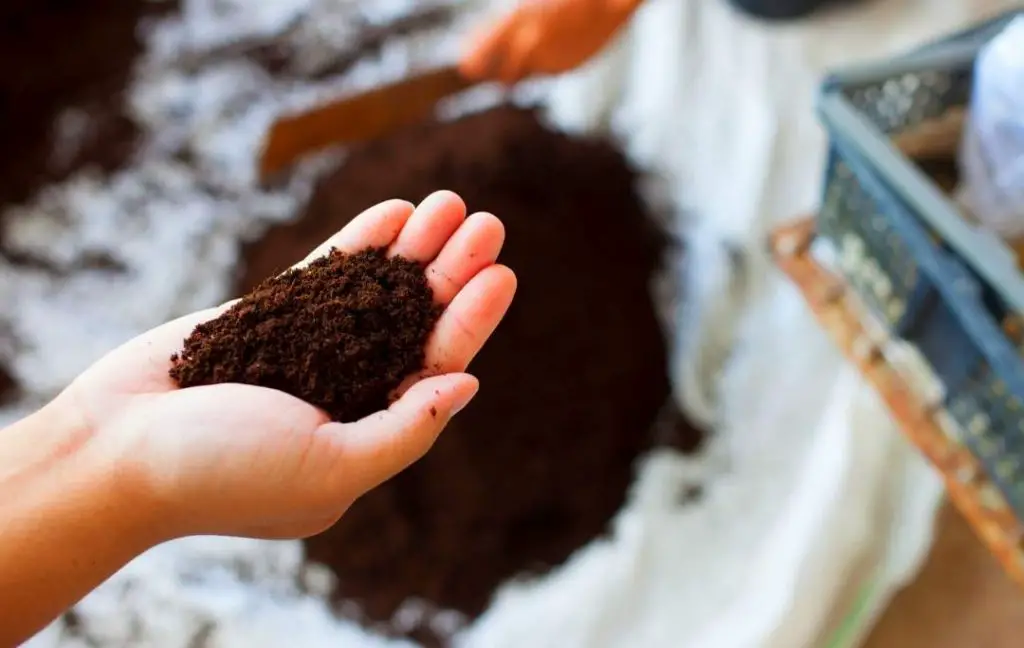
6- Use Compost for Better Growth
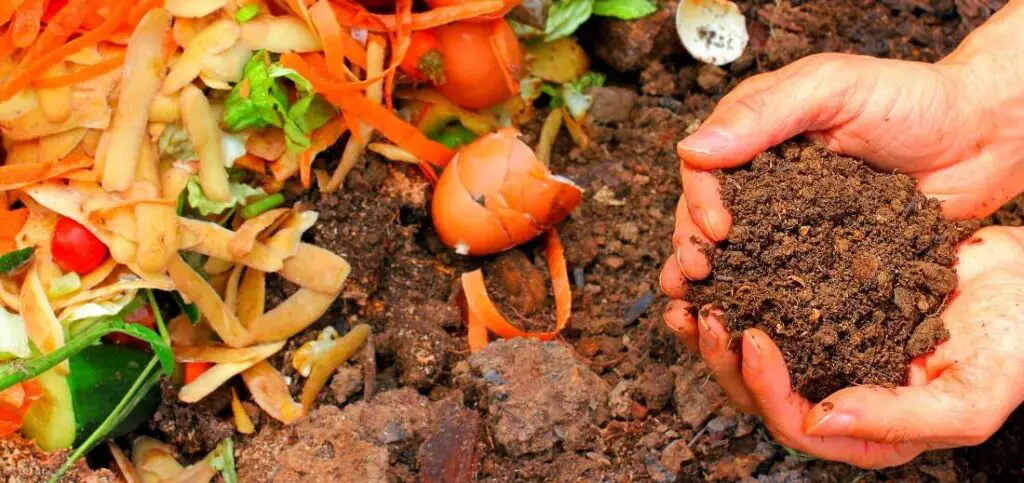
Compost will increase the fertility of your soil, it will give the necessary nutrients. You can easily make it but if you are having trouble then buy it from the market or store. With the passage of time, the soil will deplete and settle.
You can mitigate this problem by adding compost. At least, 1 to 2-inch layer of compost must be added to the container or raised bed, you can also use manure before planting.
ALSO READ: How To Improve The Soil In My Raised Beds?
7- Cover up Your Soil
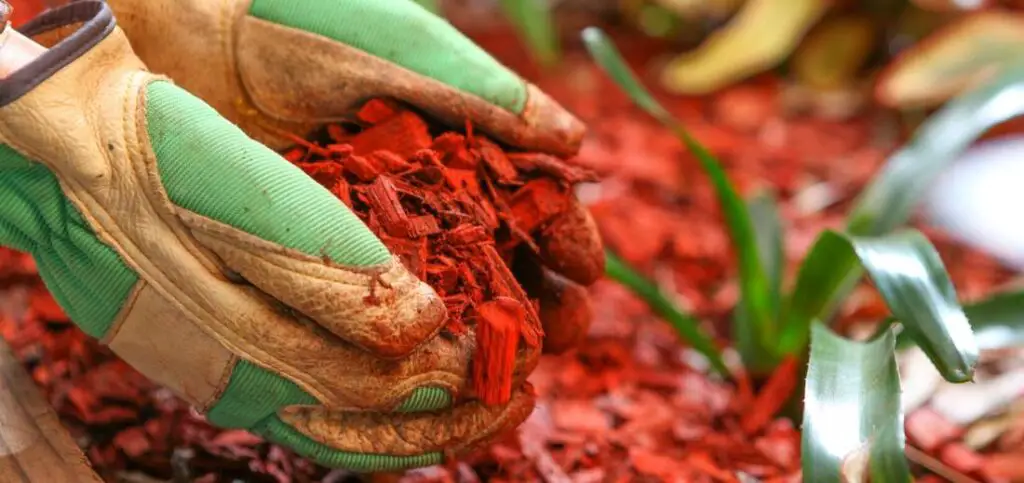
Try to cover up your raised bed even if you are not gardening. For this purpose, you can add a layer of organic mulch for the cover crop at the end of your growing season. In this way, when you start planting in spring your bed will be ready and your worry about soil will be gone. In the harsh winter weather, this layer of mulch will prevent bed’s soil.
8- How will you get rid of Grass

It is a good question because even the best-constructed garden has the danger of growing grass. You should make a plan to get rid of grass, at least a month before planting in the raised beds and ensure that they will not be able to invade the new raised bed.
Outline the space and cover it with the layer of cardboard and cover that with the layer of soil in this way you can easily get rid of the grass if you do this in the fall that will allow everything to break down over the winter.
If you already have an improperly constructed raised bed which has grass around it. Don’t worry you are not too late. Start removing the grass in the area. Start digging and set a protective layer between your plants and stubborn grass.
9- Plant Annual Cover Crops
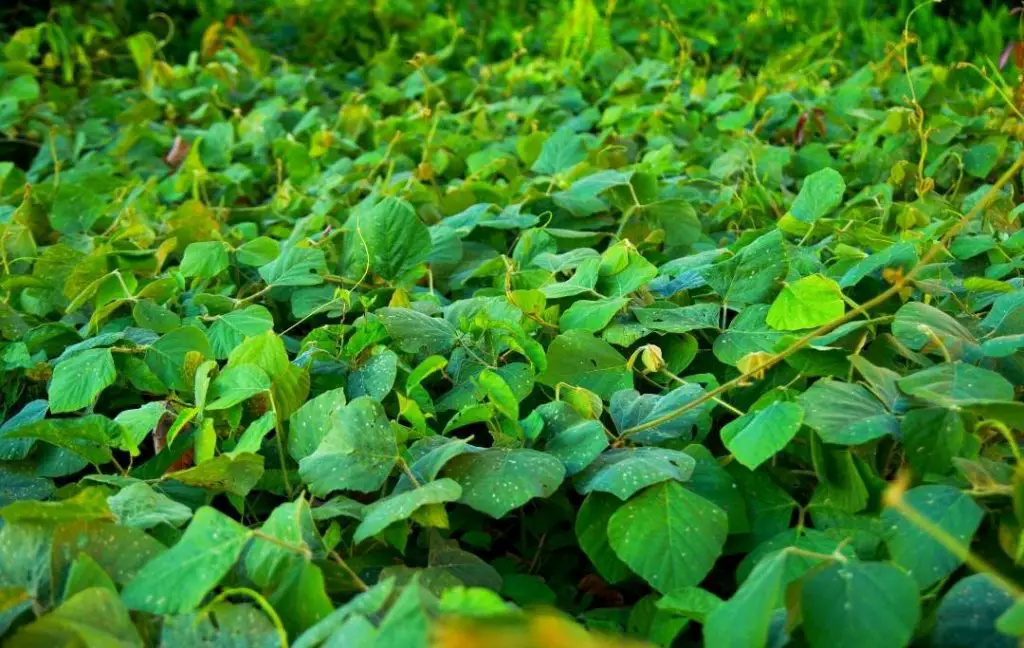
At the end of the growing season, you can plant annual ryegrass, crimson clover, and hairy vetch. These plants benefit your bed garden as they provide nutrients to the soil. Especially, if you are growing them in spring, they will reduce erosion, keep weeds in check and fix nitrogen in your soil.
These crops provide organic matter and nutrients to the soil. They are green manure which term gardeners use to improve the soil and choke out weeds.
10- Fluff the Soil as Needed
You can use this method to make your soil fluffy. Scatter some fertilizer on the ground, after that spread 3-inch peat moss over it and then till the whole area until you have fluffy topsoil 6 to 8 inches deep. Now set the plant in the middle.
You can also lighten compact soil in your raised bed, simply stick a garden fork as deeply into the soil as possible. Repeat this process 8 to 12-inch intervals all over the bed, in this way, your soil will be nicely loosened.
By following all the steps and techniques you can extend your growing season well into the fall. A little planning and hard work are needed to protect your plants from frost.
Recent Posts
Growing bell peppers from seeds is possible; however, because they thrive in warm environments, it is better to begin the process indoors approximately eight to ten weeks before the last frost. The...
Thank you for visiting our guide to growing tomatoes in plastic bottles that have been recycled. Within the context of this forward-thinking and environmentally conscious method of gardening, we will...