You can’t deny the benefits of raised beds in your garden. Even you can grow the plants in raised beds indoors. These are easily portable so you can place them at your balcony, patio, deck, porch, backyard, or garden. The primary benefit you get from them is maintaining the fertility of the soil.
It means you can adjust the number of nutrients according to the need of your plant as you can fill your raised bed with high-quality potting mix, compost, and fertilizer. You can buy different shapes and types of raised beds from any garden stores or company.
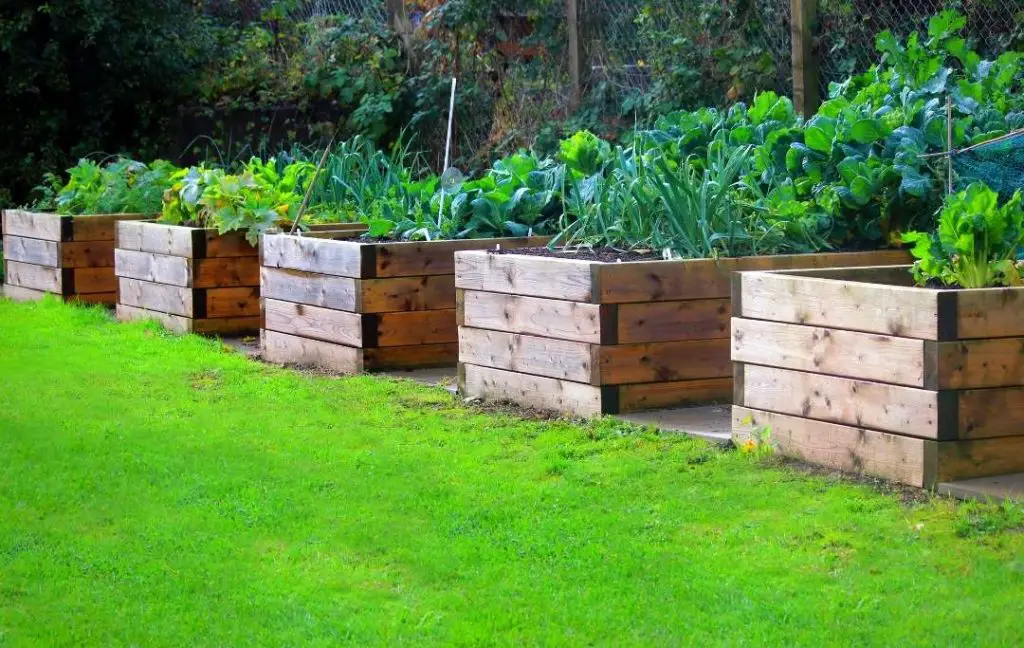
These beds are very expensive, however, you can easily fix them without any difficulty but you can also build raised beds without any experience. The main advantage of your own made raised bed is that you can make it according to the specific size you want.
Here we are going to discuss a very simple raised bed which can be made from sleepers.
CHOOSE THE RIGHT TIMBER SLEEPERS FOR YOUR RAISED GARDEN BED
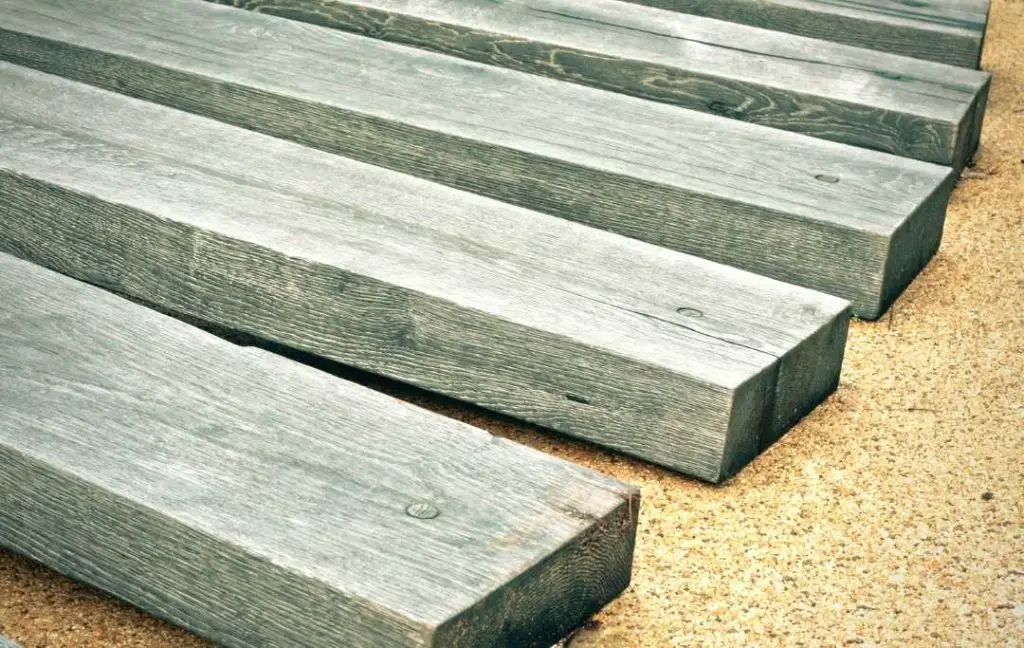
Choosing the right timber for your raised bed is an important decision. Some are made for residential use and others are rustic with rough clipped edges. Reclaimed railway sleepers have a dark color and weathered appearance.
But the negative point of this type of sleepers is that they are very hard to handle and contain some unpleasant substances which are harmful. You should avoid using creosote-treated railway sleepers because they can ooze sticky tar in the summer due to the heat of the sun. We recommend that you should use new timber sleepers which are
- New British Pine Railway sleepers
- New French of Railway sleepers
- Used Australian Jarrah Railway sleepers
- Used African Azobe Railway sleepers
Read More: 5 Best Wooden Raised Garden Beds For Vegetables
CHOOSE THE LOCATION FOR YOUR RAISED BED IN YOUR GARDEN
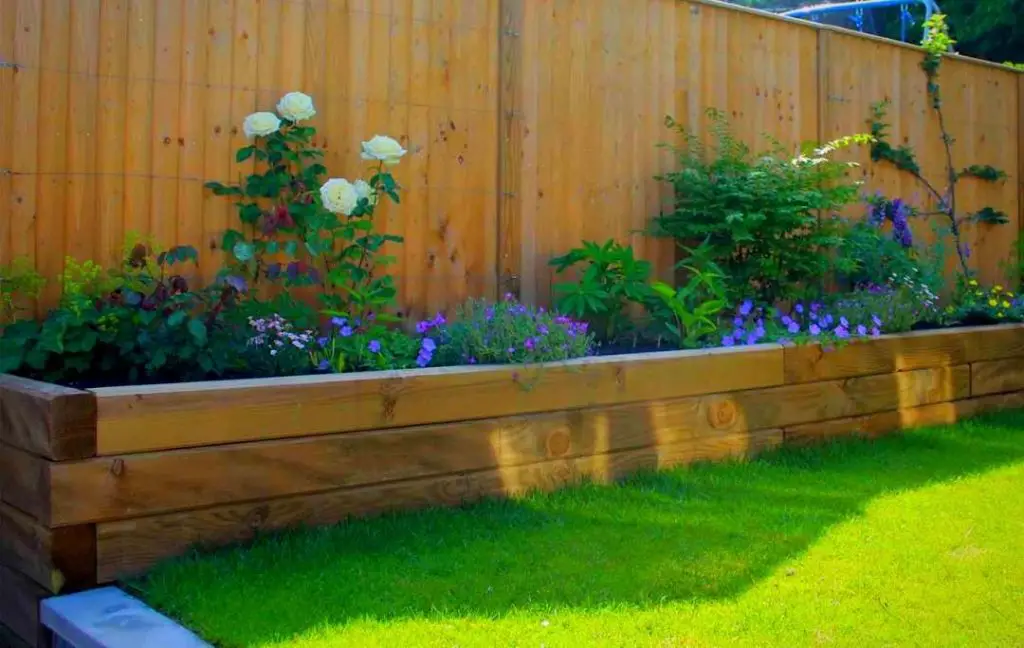
The position of the raised bed is very important, it not only depends upon your choice but the need for your plants. As you know that sunlight is very important for the plants so locate your raised bed in this way that it will get maximum sunlight which is beneficial for your plants. Second important thing is to place your raised bed in this way so that you can easily access your plants.
PROCEDURE OF MAKING RAISED BED BY USING SLEEPERS
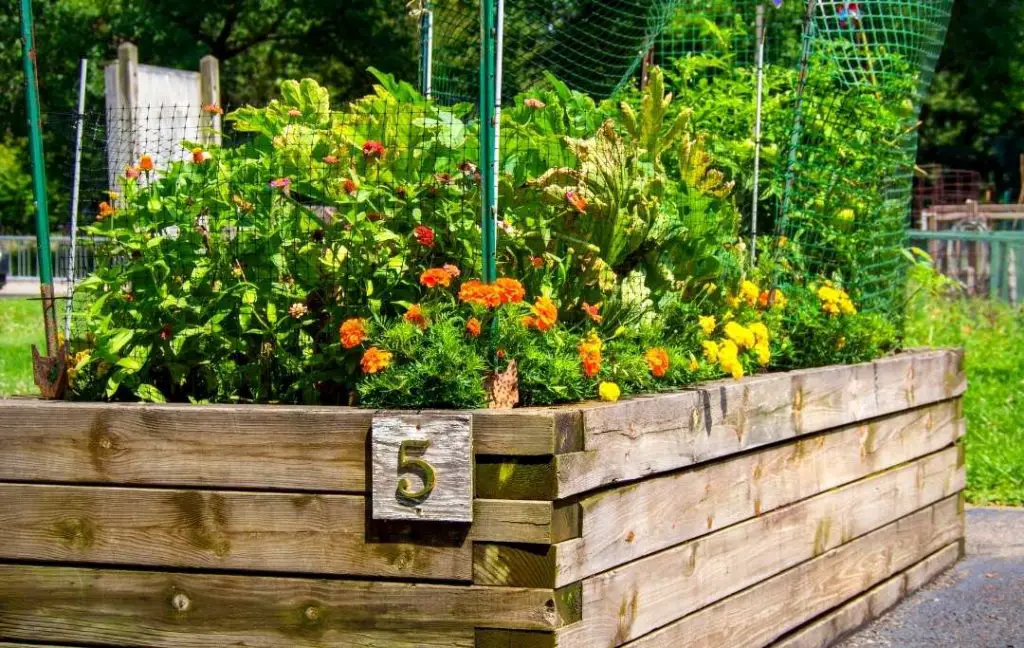
Building a raised bed at home is not a difficult task; you can do it easily. By following all the steps which are going to be discussed, you are able to create a low cost raised bed.
CHOOSE THE BEST SIZE FOR YOUR RAISED BED
Each layer of this type of raised bed can be made by using 3 sleepers as we are making a rectangular raised bed. You have to cut one sleeper in the middle and use the remaining two sleepers as a whole. This is the general size of the raised bed, but you can change the size according to your need.
You can also make a squared shape raised bed, for this purpose, you need four sleepers for the making of each layer. The height and weight of the raised beds depend on you. Keep it in your mind that choose the size which is best for your plants. The width of the raised bed should be less than the length because in this way you can easily access your plants and will not face any difficulty for its maintenance.
In squared shape,e the centered plants are neglected and do not grow well because you are not able to care for them.
LAY THE RAILWAY SLEEPERS ON THE GROUND
Use 3 sleepers for making one layer. One is cut in the middle and the other two are used as a whole. Now for making the layer place the railway sleepers on the ground. Most of the people lay these sleepers simply on the ground but a foundation of concrete is preferred.
ATTACHED SLEEPERS TOGETHER
You need two 150 mm timber screws to attach the corners of the sleepers together at 90 degrees corners. Without a drill, you can’t join these sleepers. For solid connection and making a strong frame, you need to adjust the screws very nicely, after joining your layer is prepared.
ADD ANOTHER LAYER
Following the same steps mentioned above prepare another layer. This layer is used to increase the depth of your raised bed so you can also grow deep-rooted plants easily.
ATTACH LAYERS TOGETHER
Now the step of attaching both the layers has come. Put one layer on the top of the layer you created earlier, overlapping the joints, and create one corner after screwing layers together. For joining these two layers, you need two screws per corner.
These screws simply fasten through the top layer to the layer below and connect them. In this way, they are fixed and create a rectangular-shaped raised bed. Now, this structure is strong enough and interlocked. If you don’t want to join these two layers following the steps mentioned above, try the second option in which you can use the brackets on the inside for joining these two layers.
Read More: Best Irrigation System for a Vegetable Garden
REPEAT THIS IF YOU WANT TO INCREASE MORE DEPTH
The construction and joining of two layers from the sleepers have explained in detail. If you want to make an elevated raised bed you can increase the layers of the sleepers according to the size of any of your plants. You can easily add the third and fourth layer Simply fasten the layers together using screws.
ATTACH A PLASTIC MEMBRANE
If you want to create a barrier between the wet soil and the railway sleeper then using a plastic sheet on the inside of the raised bed is a good option. Generally, people use heavy-duty plastic refuse bags but it is preferable to use thicker heavy-duty plastic bags because these bags won’t degrade the soil.
FILL THE BED WITH SOIL
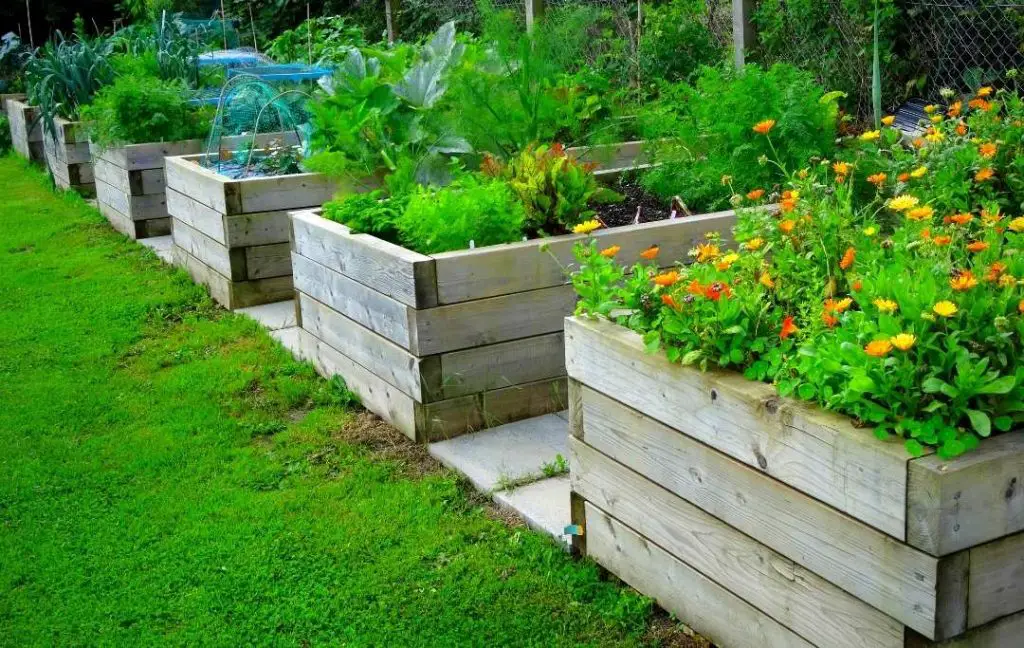
You did hard work and created your desired raised bed but if you do not fill your raised bed with the high-quality potting mix then your plants will not grow well and all your hard work will be wasted. Before filling your raised bed at the bottom of the raised bed, put stone and bricks for better drainage.
Fill raised beds with high-quality soil, compost, and fertilizers. In a raised bed, you can reduce and increase the nutrients of the soil according to the needs of the plants. You should top up your raised bed with soil or compost again in 12 months. If you apply wood chips, bark, or pebbles at the top of the raised bed then it will help you to retain the moisture of soil within the raised bed.
Read More: How to Fill Your Tall Raised Beds?
