What is Trellis
It is a simple garden structure that helps your plants grow vertically. You can make it from various materials. It has typically an open framework, allowing for plants to easily grow upward.
If you want to control fertility and quality of your soil then raised beds are the best option. They also give you an opportunity to adjust their location. If you want to get rid of the best and small animals, they can save you.
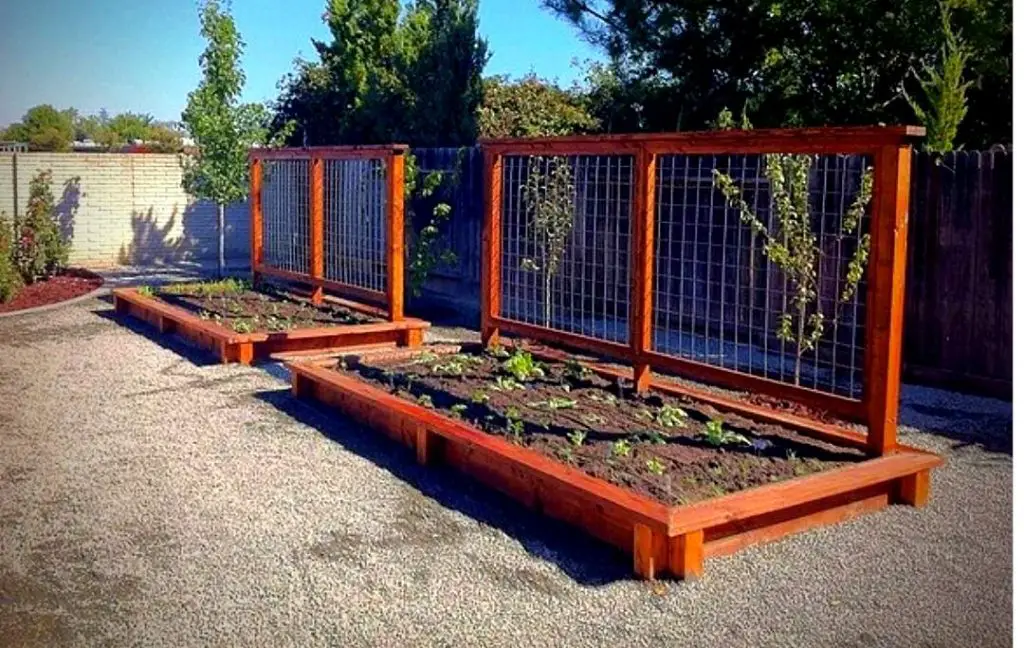
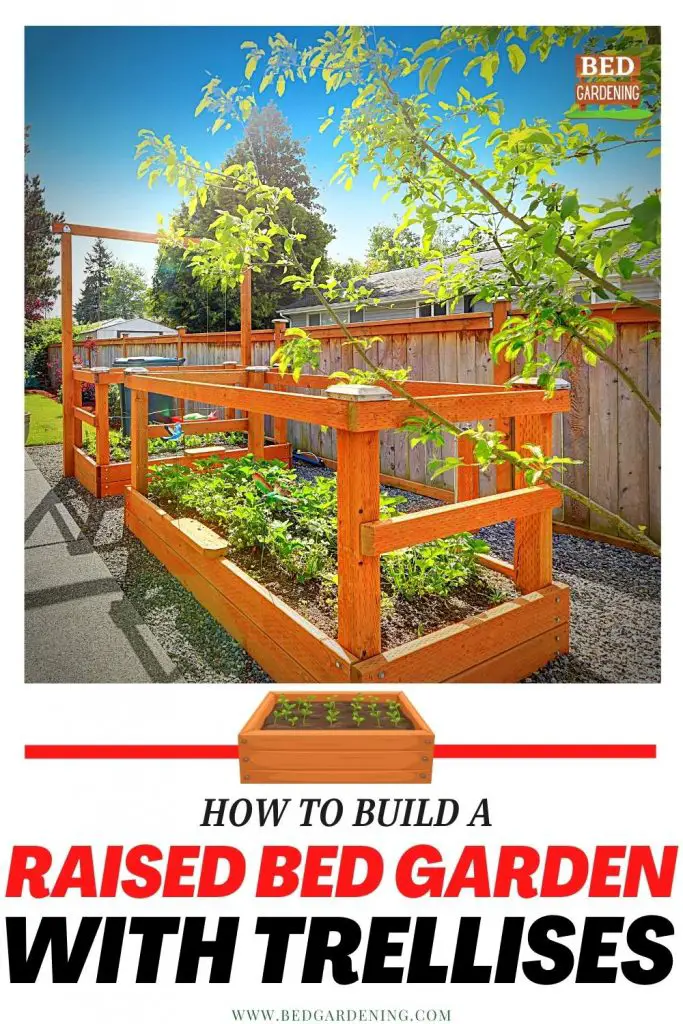
Back pain victims try to grow their plants in raised beds. It is not very hard to make a raised bed, little hard work is needed for this act. Raised beds with trellis is a unique kind. Its addition to your garden brings an advanced look.
You can make this type of raised bed by using rough-sawn cedar which is weather-resistant and looks very great. No one can live without noticing its structure and beauty. The thing is very important, what are you growing and what sort of trellis you need before the start of the growing season.
It is very simple to make it before planting. For example, if you want to grow a huge heavy squash you have to choose something sturdy but on the other hand, if your plants are smaller like tomatoes you can get away with using garden twine or even strings.
Also Read: 12 BEST Trellis For Cucumber In Raised Beds
Advantages of Trellis
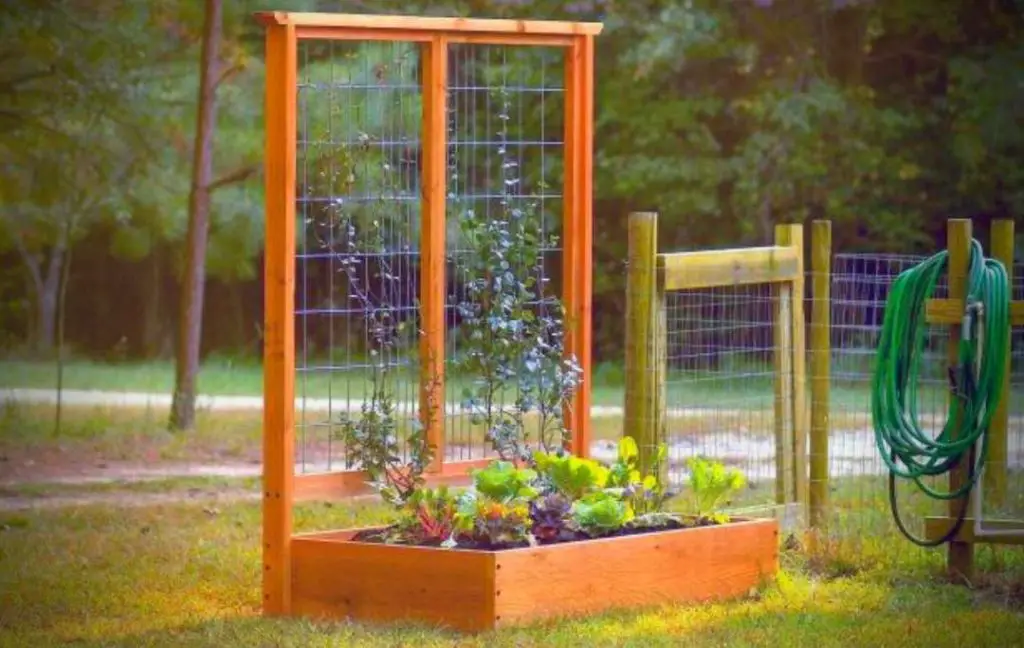
If your garden looks like a jungle then you have to think about trellises. Some fruits and vegetables benefit from being encouraged to climb as they grow. With the help of
trellises, you can keep your garden neat and visually appealing as well.
There are many advantages to this type of raised beds.
- With the help of trellis, the vines cannot sit on top of each other, in this way, it creates your circulation and making them less prone to disease.
- Trellis creates space in your garden, it prevents the plants to climb on other neighboring plants. For example, cucumbers take over the entire garden if you allow them to grow at their own will.
- Trellis makes harvesting easier for you and it is better for pollinators.
- Allows you to spot trouble early. If you have ever battled with slugs, cutworms or other garden pests, using trellis allows you to see what is going on down there and take appropriate action.
- It will satisfy your aesthetic sense and your garden will look really cool. It will soothe the eyes of visitors.
Read More: Self Watering System for your Raised Beds
Making of a Raised Bed With Trellis
Materials
The things you required for making are as follows:
- Two 9-foot, 2″×12″ rough-sawn cedar boards.
- Three 7-foot, 2″× 4″ rough-sawn cedar boards.
- One 6-foot, 2″ × 4″rough-sawn cedar boards.
- Four 10-foot, 2″ × 2″ r2-inch sawn cedar boards.
- 16′ ×34″ hog fencing panel.
- Hammer
- Twenty-two 4 ½-inch screws.
- 3-inch deck screws.
- 20 coaxial cable clips.
- Circular saw
- Tape measure
- Speed square
- Bolt cutters
- Drill with 3/16-inch
Livestock Wire Panel is highly recommended for making trellis because it is very strong and would not band or deform over time.
Read More: 20 Cheap Raised Garden Beds DIY
Construction
- First, you have to measure all the boards and then start cutting. Cut two 6-feet and two 3-Feet lengths from the 2″x 12″ cedar planks. After that, you have to assemble all these pieces to make a raised bed. Take care of this, you might have to chisel out the corners a little once you have removed your channel strip of wood.
- Now measure down half an inch long 2-inch side of a 7-foot long 2″ by 4″ board and cut 45-degree angle at both ends to chamfer. The top rail of the trellis becomes more stunning, the finish look will be gotten by this angled cut.
- Now start the process of making, trellis frame, for this purpose you have to measure and cut for 32-inch lengths and four 66-inch lengths of 2 by 2 lumber. With this frame, fencing will be attached to create that trellis.
- Each 6-foot plank you cut before, for the raised bed, measure 1 inch from ends of these planks. Now use a drill machine to make holes for the lag screws. It will reduce the possibility of wood splitting during assembly.
- You need twelve 4 ½- inch lag screws for assembling. Now start preparing holes for these screws for the ends of 3-foot planks. Try to avoid overlapping and ensure the edges are square-shaped.
- F finishing nails are used to attach the 66-inch 2″ × 2″ to the 7-foot 2″ ×4″ board. Repeat this step one more time to the second 66-inch plank. The flat, stable and tough surface is required for this work.
- Now join the all pieces so you can make the frame. This will make a square shape when you join all the corners. The unattached 66-inch 2″ × 2″ fence frame sides should meet in the center of the trellis. The 6-foot 2″ × 4″ serves as a bottom rail.
- Now start attaching the top rail. You can center the top rail on the frame so that the chamfered ends overhang the sides of the trellis evenly at each end. Make sure that the corners are square then you can easily attach the top rail to the trellis sides using deck screws.
- Now start attaching the 6-foot bottom rail to the release sites using two 4-½-inch lag screws.
- With the help of 3-inch screws to attach the fence frame to the trellis. Finishing nails will be used to attach the top and bottom rails.
- Now measure 66-inch lengths of hog fence and cut them with cutters. This hog fence would be sturdy, inexpensive and attractive. You may also use other substitutes like nylon netting or other materials.
- Now start placing the fencing into the frame.
- With the help of coaxial cable clips, you can secure the fencing on all sides of the frame.
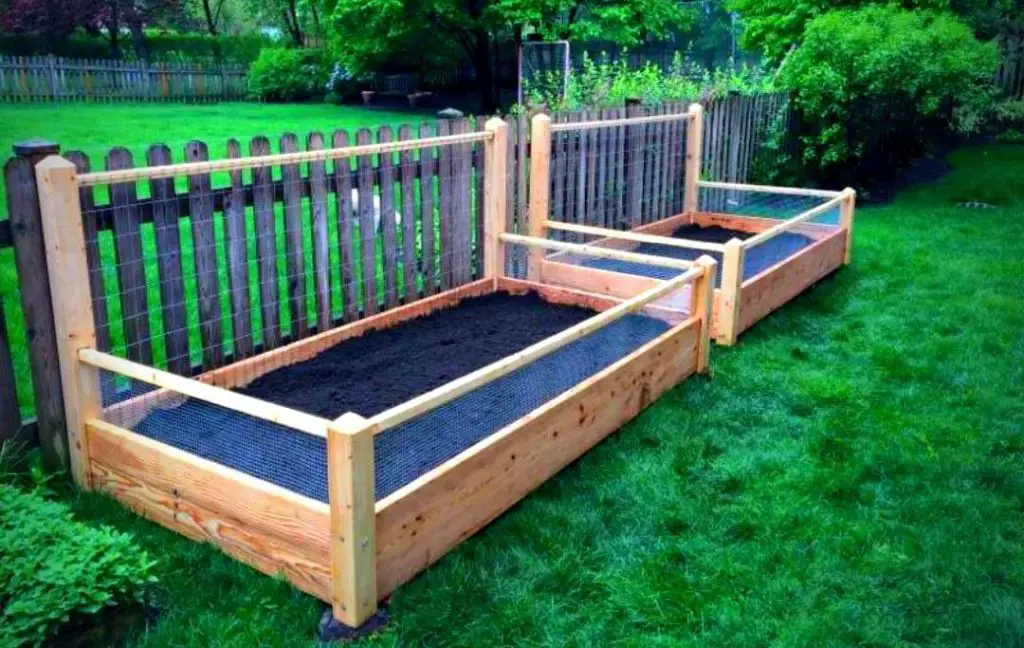
- Now, an interesting step is started, which is the attachment of trellis to a raised bed. On a level surface, slides the trellis over the ends of the raised bed. Now the base of the trellis which is resting on the ground, use a level to make sure the sides are even. After that, you have to use three 4-½ inches lag screws on each side of the frame to attach the trellis to the raised bed.
- Now we are going towards our finishing process. You have to cut for stakes at least 12 inches long from 2″ ×2″ limbs. Select a location for your raised bed, it is good if your location will get at least 8 hours of sunlight each day for the better growth of your plants. Now hammer stakes into the ground inside each corner of the bed. With the help of 3 inches, screws prevent possible tipping. You can prevent your new bed from weeds and grass by lining the bed with a newspaper.
Now your trellis is pretty much ready to get going at this point. Mounting it to the side of the raised bed should provide enough support, not only against winds but the weight of your vining veggies. If the winds in your area are typically stronger than average, you may need to reinforce the trellis. This could be done by screwing in additional posts to connect the trellis to the raised bed at a 45° angle. For your vining plants, you can carefully twist the leader up the twine and they will follow right on up and over the top of the trellis.
Read More: How to Start an Indoor Raised Bed Vegetable Garden
Filling of Raised Bed
Now your bed is ready you can fill it with a high-quality soil with the compost. Compost has an alkaline pH, meaning it balances out the acidity of peat moss while adding key nutrients to the mixture. You can adjust the quantity of compost according to the type of your plant.
You can easily make compost at home, it will not affect your pocket but if you want to buy it from the market you will get it at a very cheap price. You can also use wood chips, straw, and blood meals to enrich your soil. It is very easy to keep a balance of nutrition of soil in a raised bed which is not possible in-ground beds.
Lasagna gardening is another way to fill the raised bed, in this method, one part is two, two parts leaves and covering them with a layer of cardboard. You are beginning your own composting process beneath the soil.
Read More: How to Fill Your Tall Raised Beds?
What You Can Get From Trellis?
You will get many benefits by growing your vegetables vertically. You can grow with the help of trellis, tomatoes, beans and piece, summer and winter squash, melons, cucumbers, and grapes. Plants can climb in different ways. No matter what type of trellis you choose to use, erect it before you plant seed or seedling.
Read More: Best Annuals Flowers For Raised Beds
Recent Posts
Growing bell peppers from seeds is possible; however, because they thrive in warm environments, it is better to begin the process indoors approximately eight to ten weeks before the last frost. The...
Thank you for visiting our guide to growing tomatoes in plastic bottles that have been recycled. Within the context of this forward-thinking and environmentally conscious method of gardening, we will...